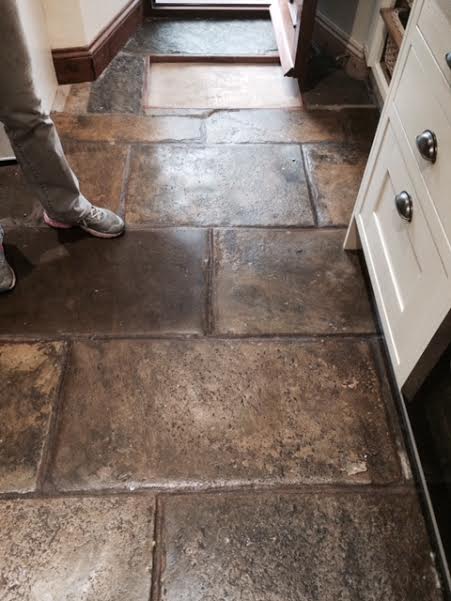
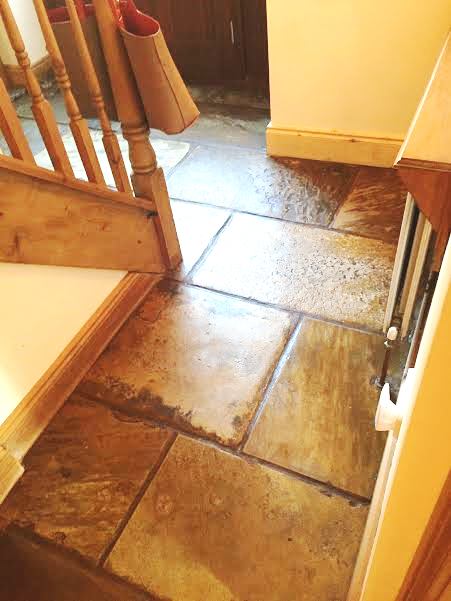
kitchen

Black Slate Floor Renovation Glenridding Ullswater

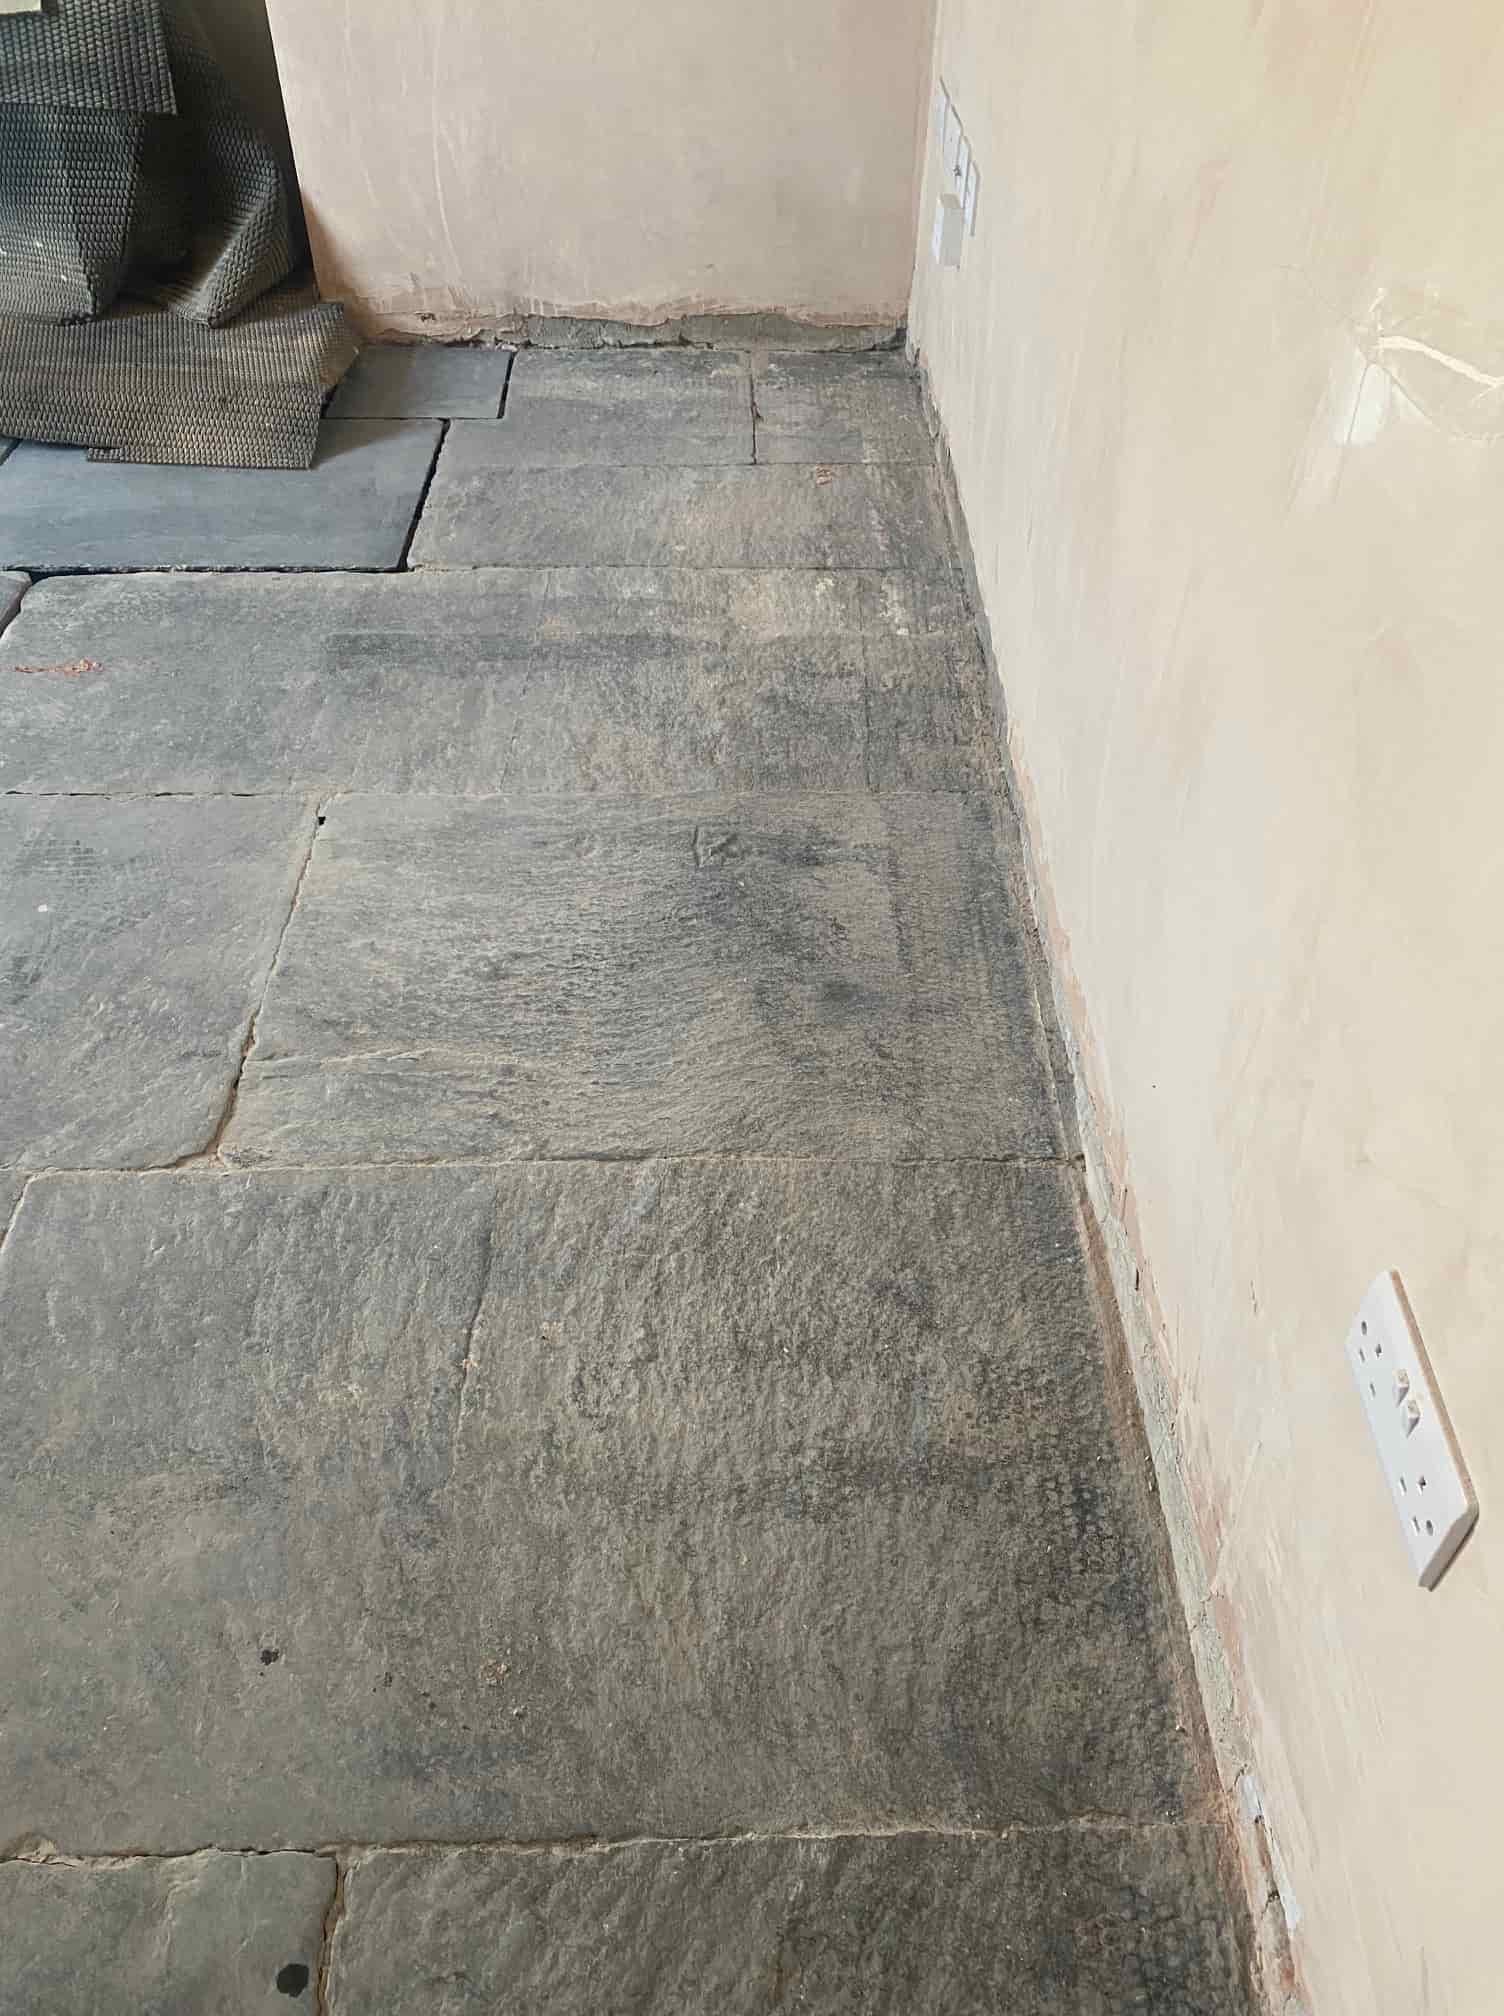
Black Slate Floor Renovated in Glenridding Ullswater

I thought I would share the details of this Black Slate floor renovation we recently completed in Glenridding in Ullswater. Slate is a popular choice for flooring in the Lake District due to its abundance in the area so I’m sure it will be relief to some to know that it can be restored regardless of the state it gets into.

Black Slate Floor Before Renovation Ullswater Black Slate Floor Before Renovation Ullswater

This House was actually an old Miners Cottage based in the Valley of Glenridding and the Black Slate was actually from the mine itself. After nearly two hundred years of use the old floor was still in good structural condition although the pointing had perished in many areas and needed replacing

Unless it’s being completely removed, I always recommend putting old floors like this back into use. Reason being the lack of a damp proof membrane which if in place would prevent moisture rising through the floor; old floors like these don’t have a DPM so its best to maintain them and let them breathe so moisture can evaporate at the surface. Cover them up and you risk damp building up under the floor where it can reach out to the walls.

Re-Pointing Black Slate Flagstones in the Lake District

The first step of the renovation was to knock out the remaining pointing with an 8lb Titan hammer drill fitted with a chisel attachment. The debris was cleared and new pointing applied. For this I like to use a product called VDW800, we don’t sell it at Tile Doctor but its easily sourced on-line. and for my money it’s the best pointing product on the market. It can be used inside or outside, it’s totally waterproof but it’s also breathable, flexible and comes in four different colours.

Black Slate Floor During Renovation Ullswater

Unlike Lime pointing this product fully hardens after twenty four to forty eight hours (depending on temperature) and it doesn’t wash out. Once the pointing was completed, we left it to dry overnight.

Next, we gave the floor a general clean with Tile Doctor Remove and Go which was sprayed onto the stone floor and then after about ten minutes worked in with a Black scrubbing pad fitted to a rotary floor machine. This is good for softening up paint and old sealers so they can be rinsed off with water and extracted with a wet vacuum.
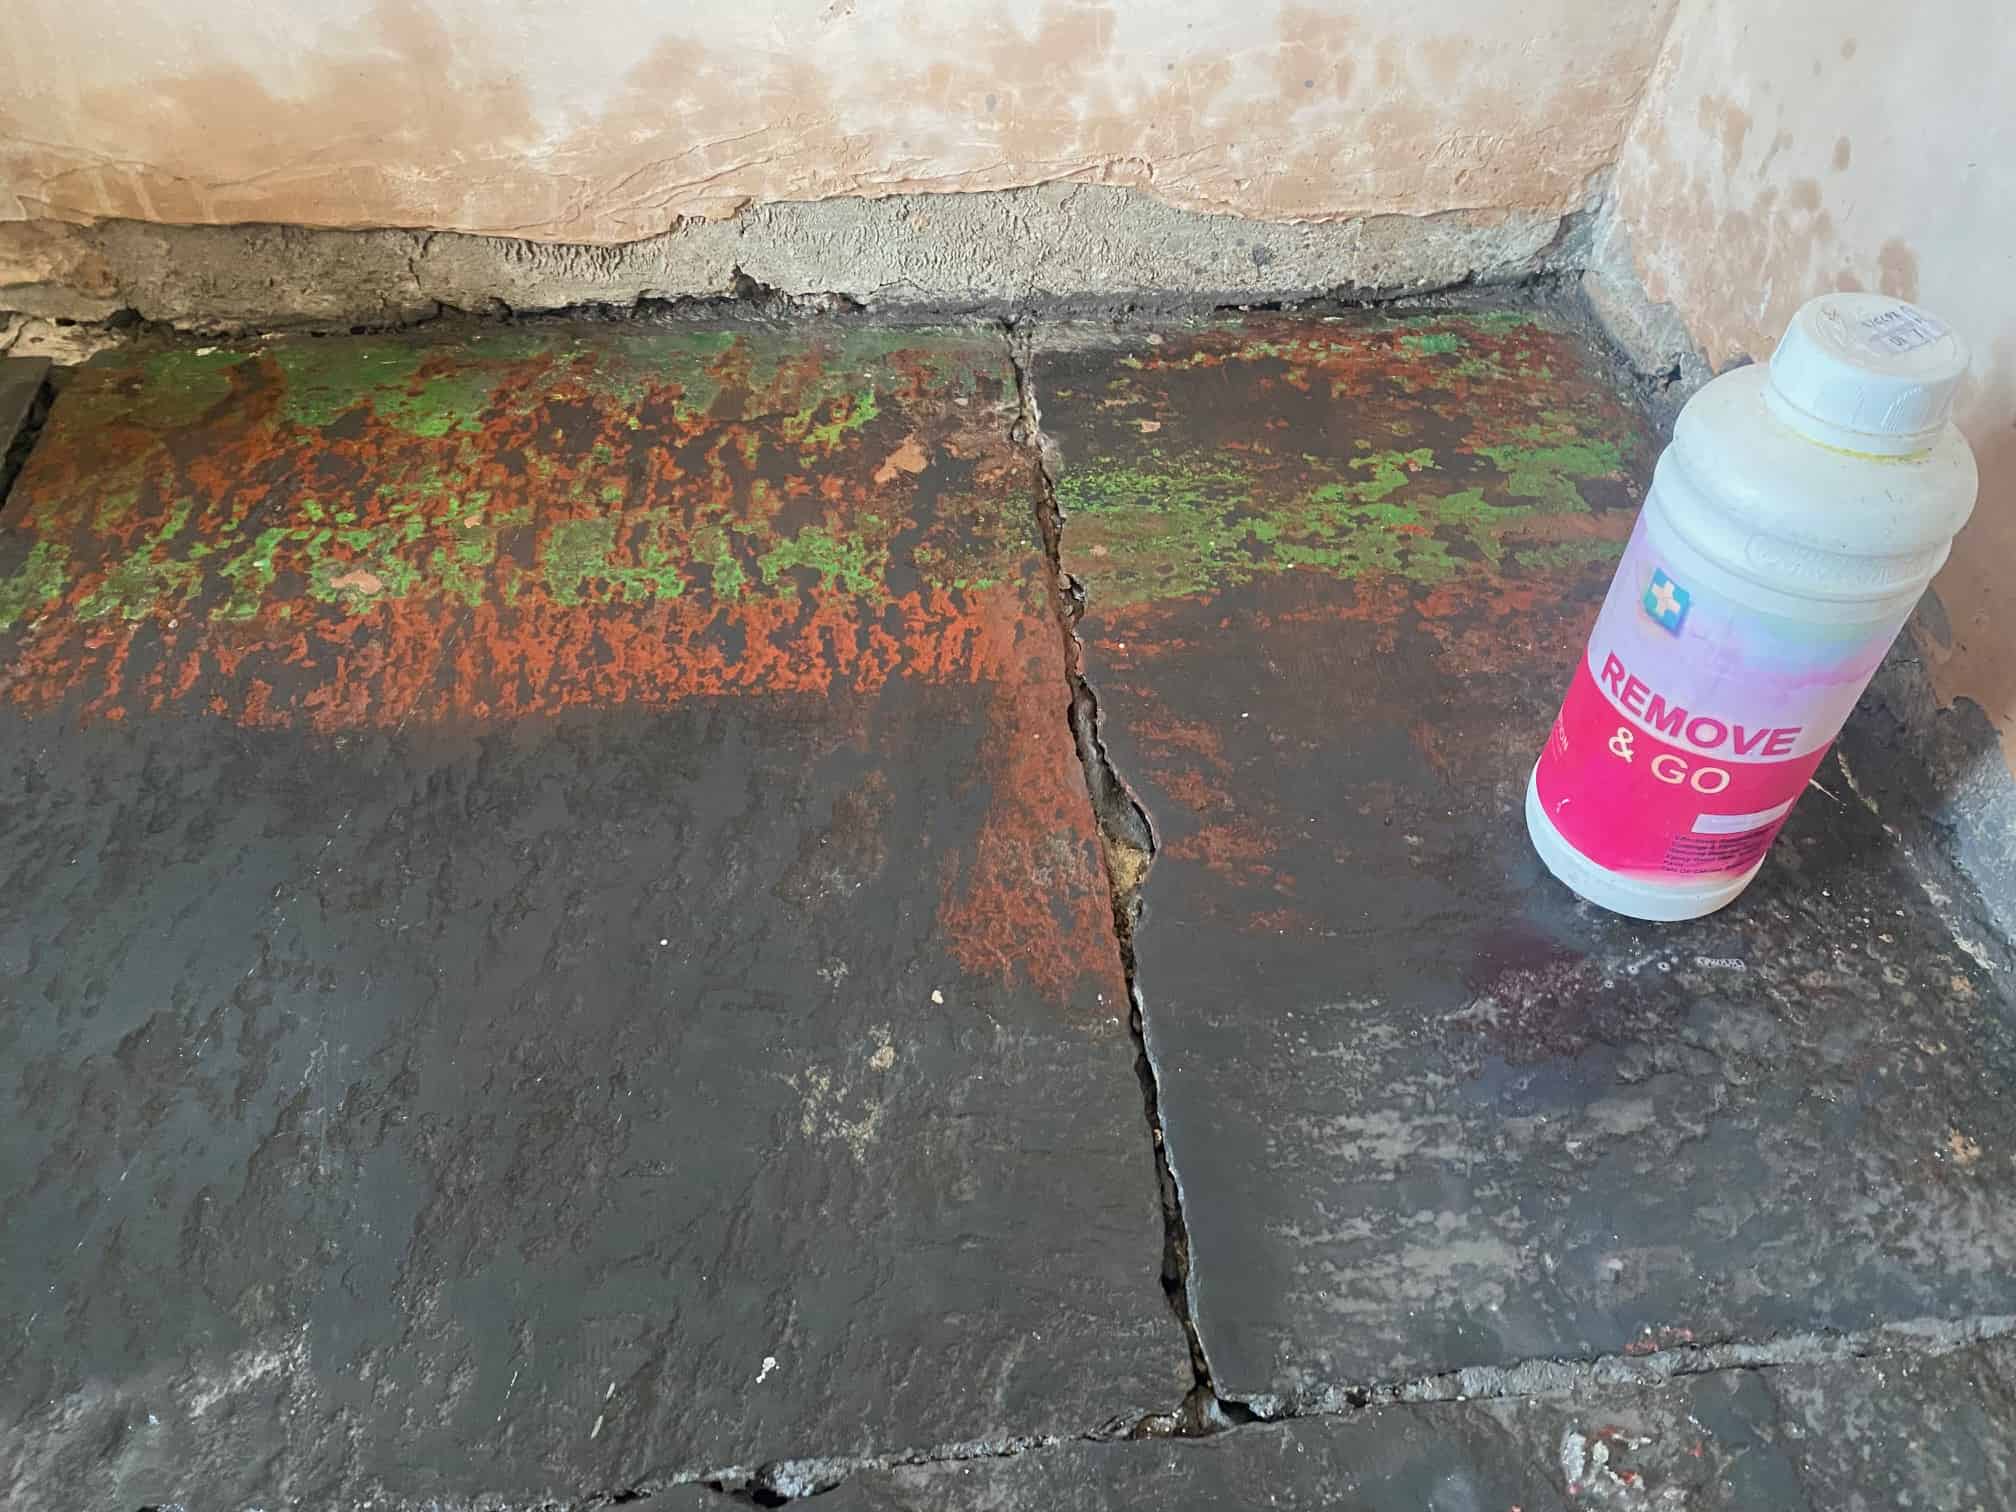
Black Slate Floor During Renovation Ullswater

Deep Cleaning Black Slate Flagstones

The next day our attention turned to the Slate flagstones which had been stained by all types of material that had accumulated over the years; this included paint, old sealer, and bits of Varnish to name a few, you name it this floor had it.

To renovate stone when it’s this bad they only option is to use a technique we call Milling that uses very abrasive “Milling Pads” encrusted with industrial diamonds to grind off the surface to reveal new stone underneath. It also makes the stone much more smoother to walk on and as a result easier to clean going forwards. A further benefit is a smoother stone requires less sealer. The milled floor combined with the new pointing should result is an almost new floor.

The great thing about offering this service is that the customer retains the look and feel of the original floor which in this case ran from the front room, passage, and Kitchen area.

The milling pads are applied using a floor buffer which is weighted to ensure a strong contact with the stone. It does generate a lot of dust though so we use water to contain the dust and help with lubrication. Once done the floor is rinsed with more water and the resultant slurry extracted with a wet vacuum.

The next step is to apply a sealer however the Slate needed to be completely dry before we could do that so it was left to dry out for a few days.

Black Slate Floor Renovation Ullswater

Sealing a Slate Tiled Kitchen Floor

Once the Stone had dried sufficiently (they never dry fully in old buildings without a DPM) the weather had changed for the worse and we had a full blizzard has arrived with snow and ice etc. It wasn’t ideal for sealing but the sealer we had chosen to use on this occasion copes well with damp due to it having an oil base and is rated for external use.

Black Slate Floor Renovation Ullswater

The sealer used is called Tile Doctor X-Tra Seal and is excellent on Black Stone as all Black Stones get their colour from the oil content inside the stone. The sealer fills up the pores in the stone resulting in a lovely dark sheen. The only disadvantage is its quite an expensive product however only one coat was needed and, on this occasion, it was the only sealer I would have recommended for this floor.
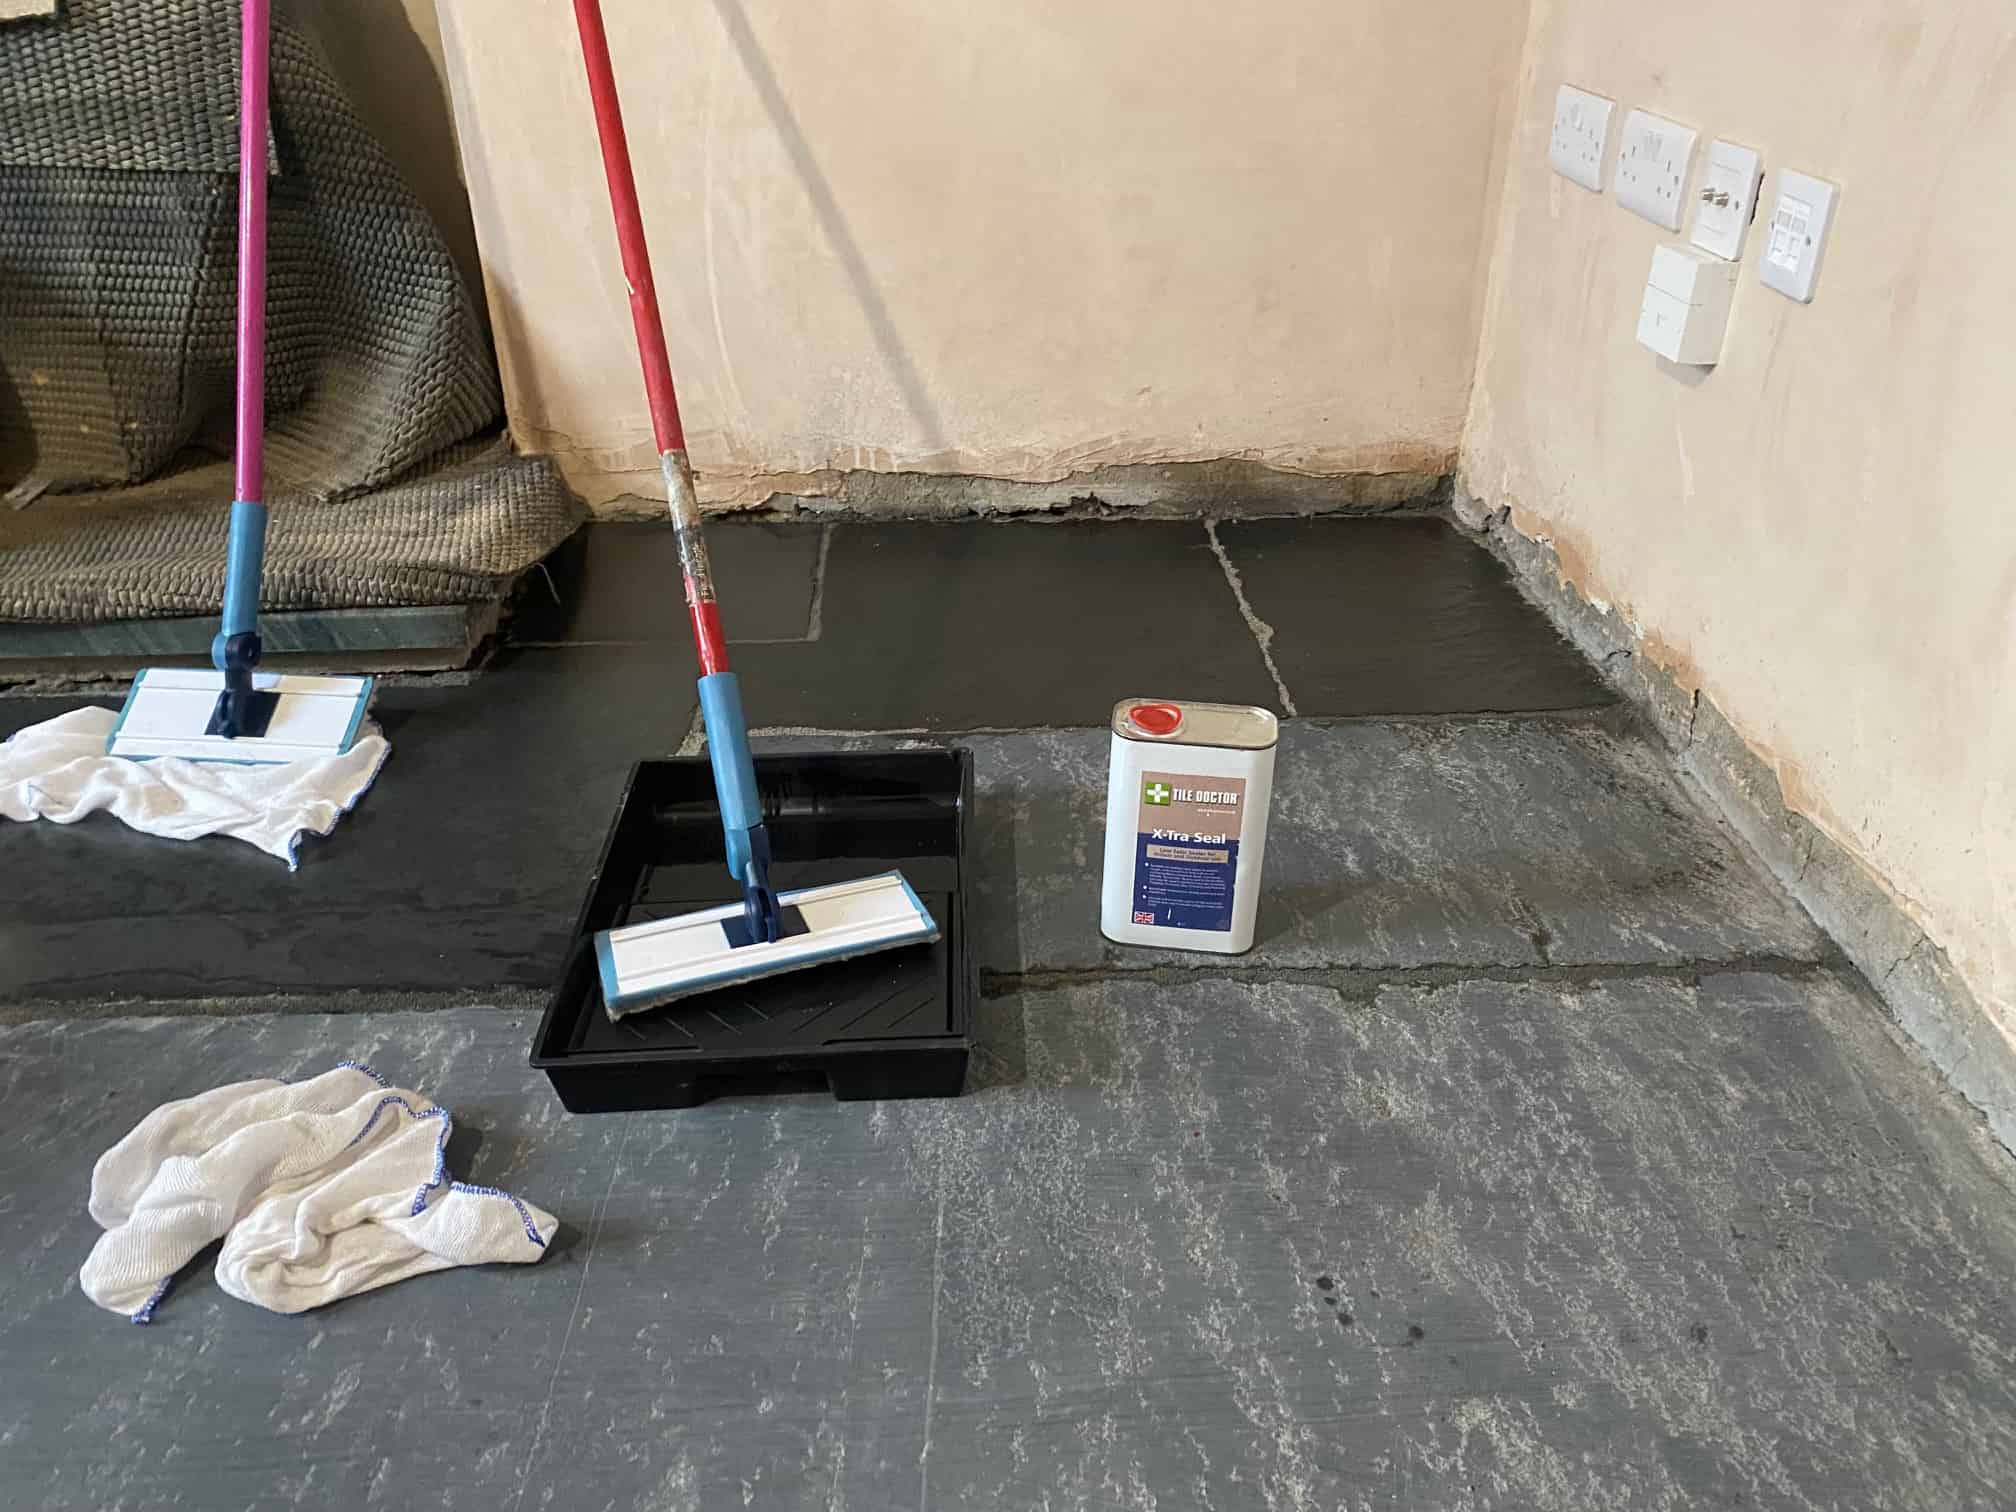
Black Slate Floor Renovation Ullswater

Once complete the floor looked completely transformed and should look great from many years to come. Assuming they and future owners of the property look after the floor it should never need Milling again just a deep clean and fresh seal ever five to seven years.

Black Slate Floor After Renovation Ullswater Black Slate Floor After Renovation Ullswater

On the subject of maintenance, we took time to discuss after care cleaning before leaving and informed them to stay clear of using a steamer as this will damage the sealer. To clean this floor I recommended they use Tile Doctor Neutral Clean which is a mild but effective specialist tile cleaner that’s Ph neutral and comes in a concentrate so a little goes a long way. Naturally there are many tile cleaning products available in the market but you do need to careful as many are bleach bases and can harm the sealer, even washing up liquid which is a very good degreaser will damage a stone sealer.

Black Slate Floor After Renovation Ullswater


Professional Restoration of a Slate Tiled Kitchen Floor in Cumbria

Black Slate Floor Renovated in Glenridding Ullswater Read More »

Marble Floor Before and After Cleaning Penrith

Restoring Heavily Soiled Marble Tiles with Burnishing in Penrith

When you have high quality tiles like Marble, Limestone and Travertine, it’s even more important than normal to use suitable cleaning products. If, for example, you apply a slightly acidic cleaner to Limestone, it can cause severe, irreparable etching that significantly damages the appearance of the stone.

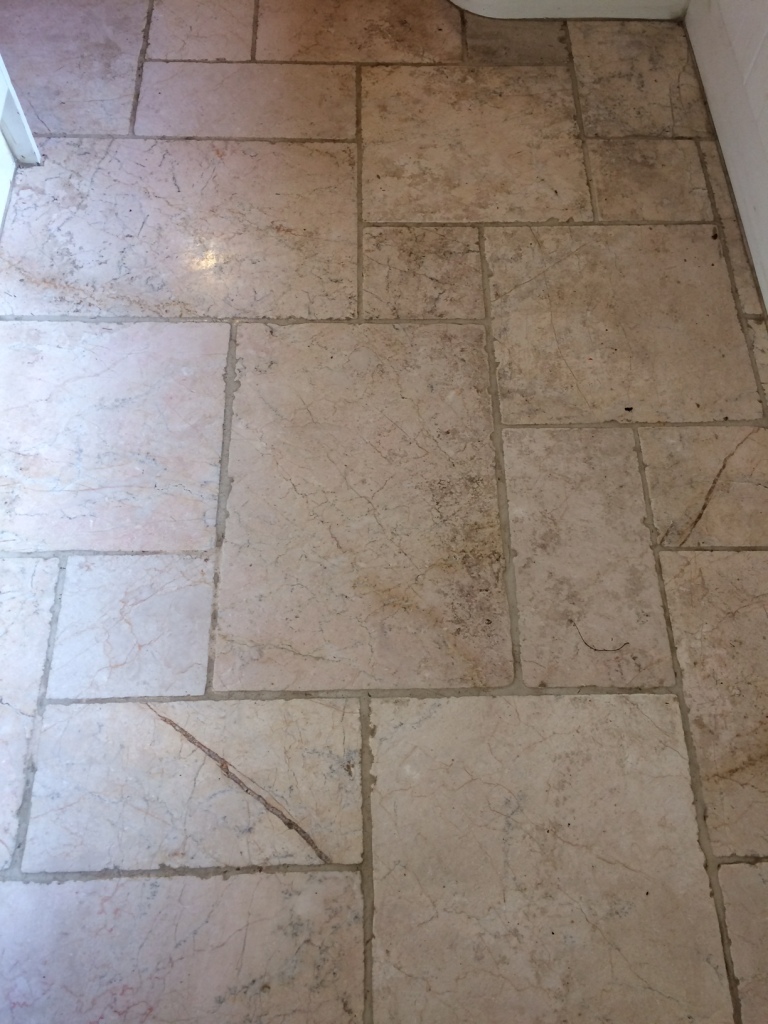
In a similar way, this customer in Penrith had been using an unsuitable wax-based liquid soap to clean her “Crema Marfil” Spanish Marble kitchen tiles. It had failed to prevent a heavy buildup of dirt, and had in fact darkened the stone, leaving it looking stained, unnatural, and all-around difficult to clean.

Marble floor before cleaning Penrith
To avoid the floor becoming a complete nuisance, the customer contacted me to see what could be done to alleviate the problems.

Marble floor before cleaning Penrith Marble floor before cleaning Penrith

Burnishing a Dirty Marble Tiled Kitchen Floor

I explained to the customer that a process we use at Tile Doctor known as burnishing would be the most effective way to clean the Marble. Also suitable for Limestone and Travertine, this process involves the sequential application of specialist diamond encrusted pads of different grits to grind down any soil buildup and gradually create an aesthetic polish in the surface of the tiles.

Our system consists of four burnishing pads: Coarse, Medium, Fine and Very Fine. I started, using a little water as lubrication, by applying the Coarse pad across the floor, as its rough grit is ideal for breaking down stubborn dirt and stains – and doss so without damaging the tile in any way.

Satisfied with the initial cleaning result achieved by the Coarse pad, I proceeded to work my way through the four burnishing pad system, applying the Medium, Fine and Very Fine pads in turn to restore the polish to the tiles. Following this, I paid some specific attention to the dirty grout, cleaning it with our reliable, multi-purpose alkaline cleaner, known as Tile Doctor Pro Clean, in combination with a steaming system.

Sealing a Marble Kitchen Floor

After completing the burnishing process, I left the tiles to dry overnight. Upon my return to the property I polished the floor one final time with the Very Fine pad before deciding that it was time to give it a fresh seal.

My choice of sealer in this situation was Tile Doctor Colour Grow, an impregnating, colour intensifying sealer that I knew would really do well to emphasise the natural beige shades in the Marble. I applied two coats of the sealer, before polishing off the excess with a buffing pad and leaving the tiles to dry again for a few hours before they could be walked on again.

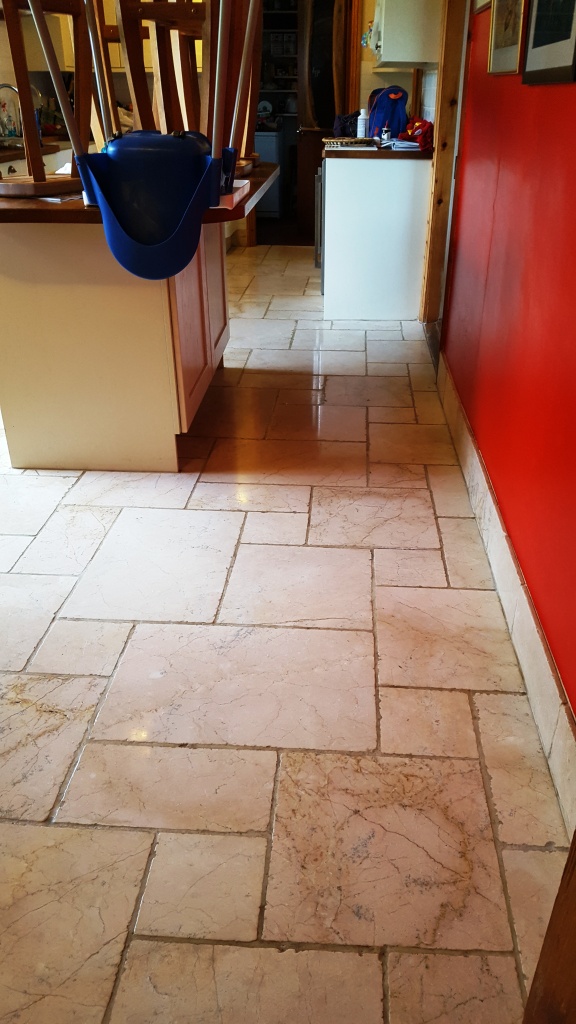
Marble floor after cleaning Penrith
My customer was very pleased with the outcome. Naturally, she was drill quite concerned about keeping the tiles clean in the long term, so I left her with a complimentary bottle of Tile Doctor Stone Soap, which is specifically designed for aftercare cleaning on polished Marble, Limestone and Travertine.

Marble floor after cleaning Penrith Marble floor after cleaning Penrith


Professional Marble Tiled Kitchen Floor Restoration in Cumbria

Restoring Heavily Soiled Marble Tiles with Burnishing in Penrith Read More »

Sandstone floor Before and After milling and sealing in Penrith

Milling, Cleaning and Sealing Sandstone tiles in Penrith

Here’s an interesting job that I recently completed down in Penrith, a small market town just under three miles from the Lake District National Park.

My client had a Sandstone tiled flagstone floor in her kitchen which had been continually sealed over its lifetime – but without removing the old sealer first. This is not advised, as it can lead to a severe problem where the layers of sealer become compacted on the surface. The result is a significant build-up of old sealer which is almost impossible to remove, even with some of the best and strongest products available.

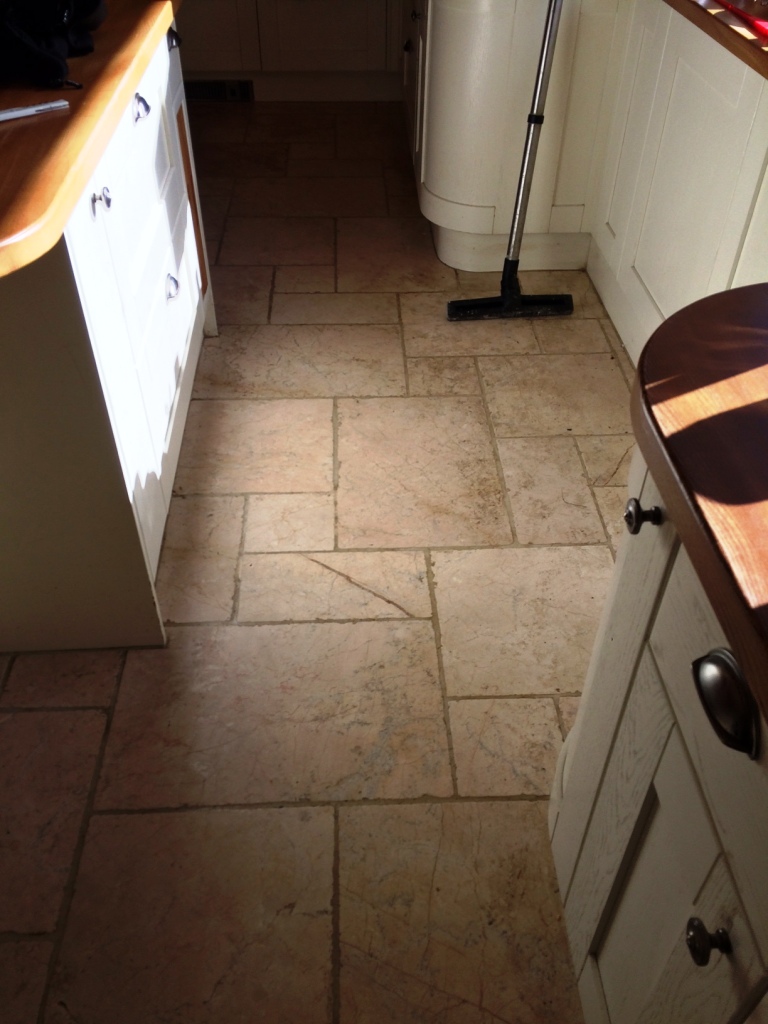
Sandstone floor before milling in Penrith
This problem is particularly acute in Sandstone because, as a naturally porous stone, it has a high grab factor when it comes to polyurethane type wax sealers. As a result, it would take me a significant amount of work to reduce the problem as far as possible.

Milling Sandstone tiles

As no chemical products would prove effective in resolving the issue, I opted to use a milling technique using abrasive, coarse milling pads. The idea is that the milling pads penetrate beneath the many layers of old sealer and re-finish the stone. In order to validate the proposed solution I conducted an experiment in a test area under the dishwasher. The test proved satisfactory, and so my client was happy to extend the solution to the rest of the kitchen floor.

Sandstone floor during milling in Penrith
As you can see from the photos, the milling pads allowed me to get in deep where chemical products were simply unable to make a difference, giving the Sandstone tiles a much more refined look. As well as flattening a stone milling does strip a tile naked so it’s necessary to seal the stone after to enhance the natural colours and features as well as protect the stone going forward.

Cleaning and sealing Sandstone tiles

After spending all day milling the rest of the floor, it came time to give it a thorough clean to remove any remaining dirt and muck, especially along the grout lines. My choice of cleaner was Tile Doctor Pro-Clean, a high-alkaline cleaner which is used on most natural stone floors, including Sandstone, Granite, Limestone and Slate. The Pro-Clean was diluted with water and then scrubbed into the tile and grout.

After finishing the clean, I left for a few days as the floor needed at least 48 hours to dry completely before it could be sealed. Tiled floors must always be left to dry completely before being sealed because any excess moisture or residue can damage the performance of the sealer. When I returned, I applied three layers of Tile Doctor Colour Grow, an impregnating, colour intensifying sealer which is designed to provide durable surface protection from within, while also accentuating the natural shades and colours in the stone.

Sandstone floor after milling and sealing in Penrith
My client was very pleased with the results, and was amazed I was able to do anything to resolve the compacted sealer issue considering that the chemical products used previously were unsuccessful.

Bringing a Sandstone tiled floor back to life in Cumbria

Milling, Cleaning and Sealing Sandstone tiles in Penrith Read More »

Cockermouth Quarry Tiled Kitchen floor Before and After cleaining

Quarry Tiled Kitchen Floor in Cockermouth

The customer called me in to resolve a problem in at a beautiful holiday cottage in Cockermouth which had an old Quarry tiled floor installed which she had tried to make shine but had ended up turning it pink in places

Cockermouth Quarry Tiled Kitchen floor before cleaining 1 Cockermouth Quarry Tiled Kitchen floor before cleaining 2

Cleaning Quarry Floor Tiles

On my arrival I spent time protecting the kitchen units and adjacent wooden floor and then started on removing the old sealer with Tile doctor Remove and Go; I sprayed it on working in small areas and working it into the tile with a brush making sure to scrub it in well, the resultant soiled solution was washed off with clean water the and then removed using a wet vacuum. After finishing with the tile I moved onto the grout joints using the same process to make sure they were all clean and then the floor was given a good rinse to neutralise the floor before sealing. Again a wet vacuum was used to remove any liquids from the floor and it was then left to dry fully overnight.

Sealing Quarry Floor Tiles

The next day I returned to the cottage and after verifying the floor was dry with a damp tester it was sealed with four coats of Tile Doctor Seal and Go which provides on-going protection as well as adding a nice shine to the tile.

Cockermouth Quarry Tiled Kitchen floor after cleaining 1 Cockermouth Quarry Tiled Kitchen floor after cleaining 2

This job took me two days and whilst I was there I took the time to explain how to maintain the floor going forward and the importance of using a Neutral Cleaner to extend the life of the sealer. Certainly the customer was very happy with the results and left the following message our feedback system:

“Absolutely delighted the tiles were very marked in places but Heidi has managed to get them off and the tiles are back to their true colour which I hoped they would be. Heidi explained step by step the procedure and I am very pleased with the result Thank you very much for the time spent and I would recommend Heidi — Veronica”

Cleaning and Sealing Quarry Tiles in Cumbria

Quarry Tiled Kitchen Floor in Cockermouth Read More »

Scroll to Top