Floor Tile Cleaning

Victorian Hallway Floor Renovated in Carlisle

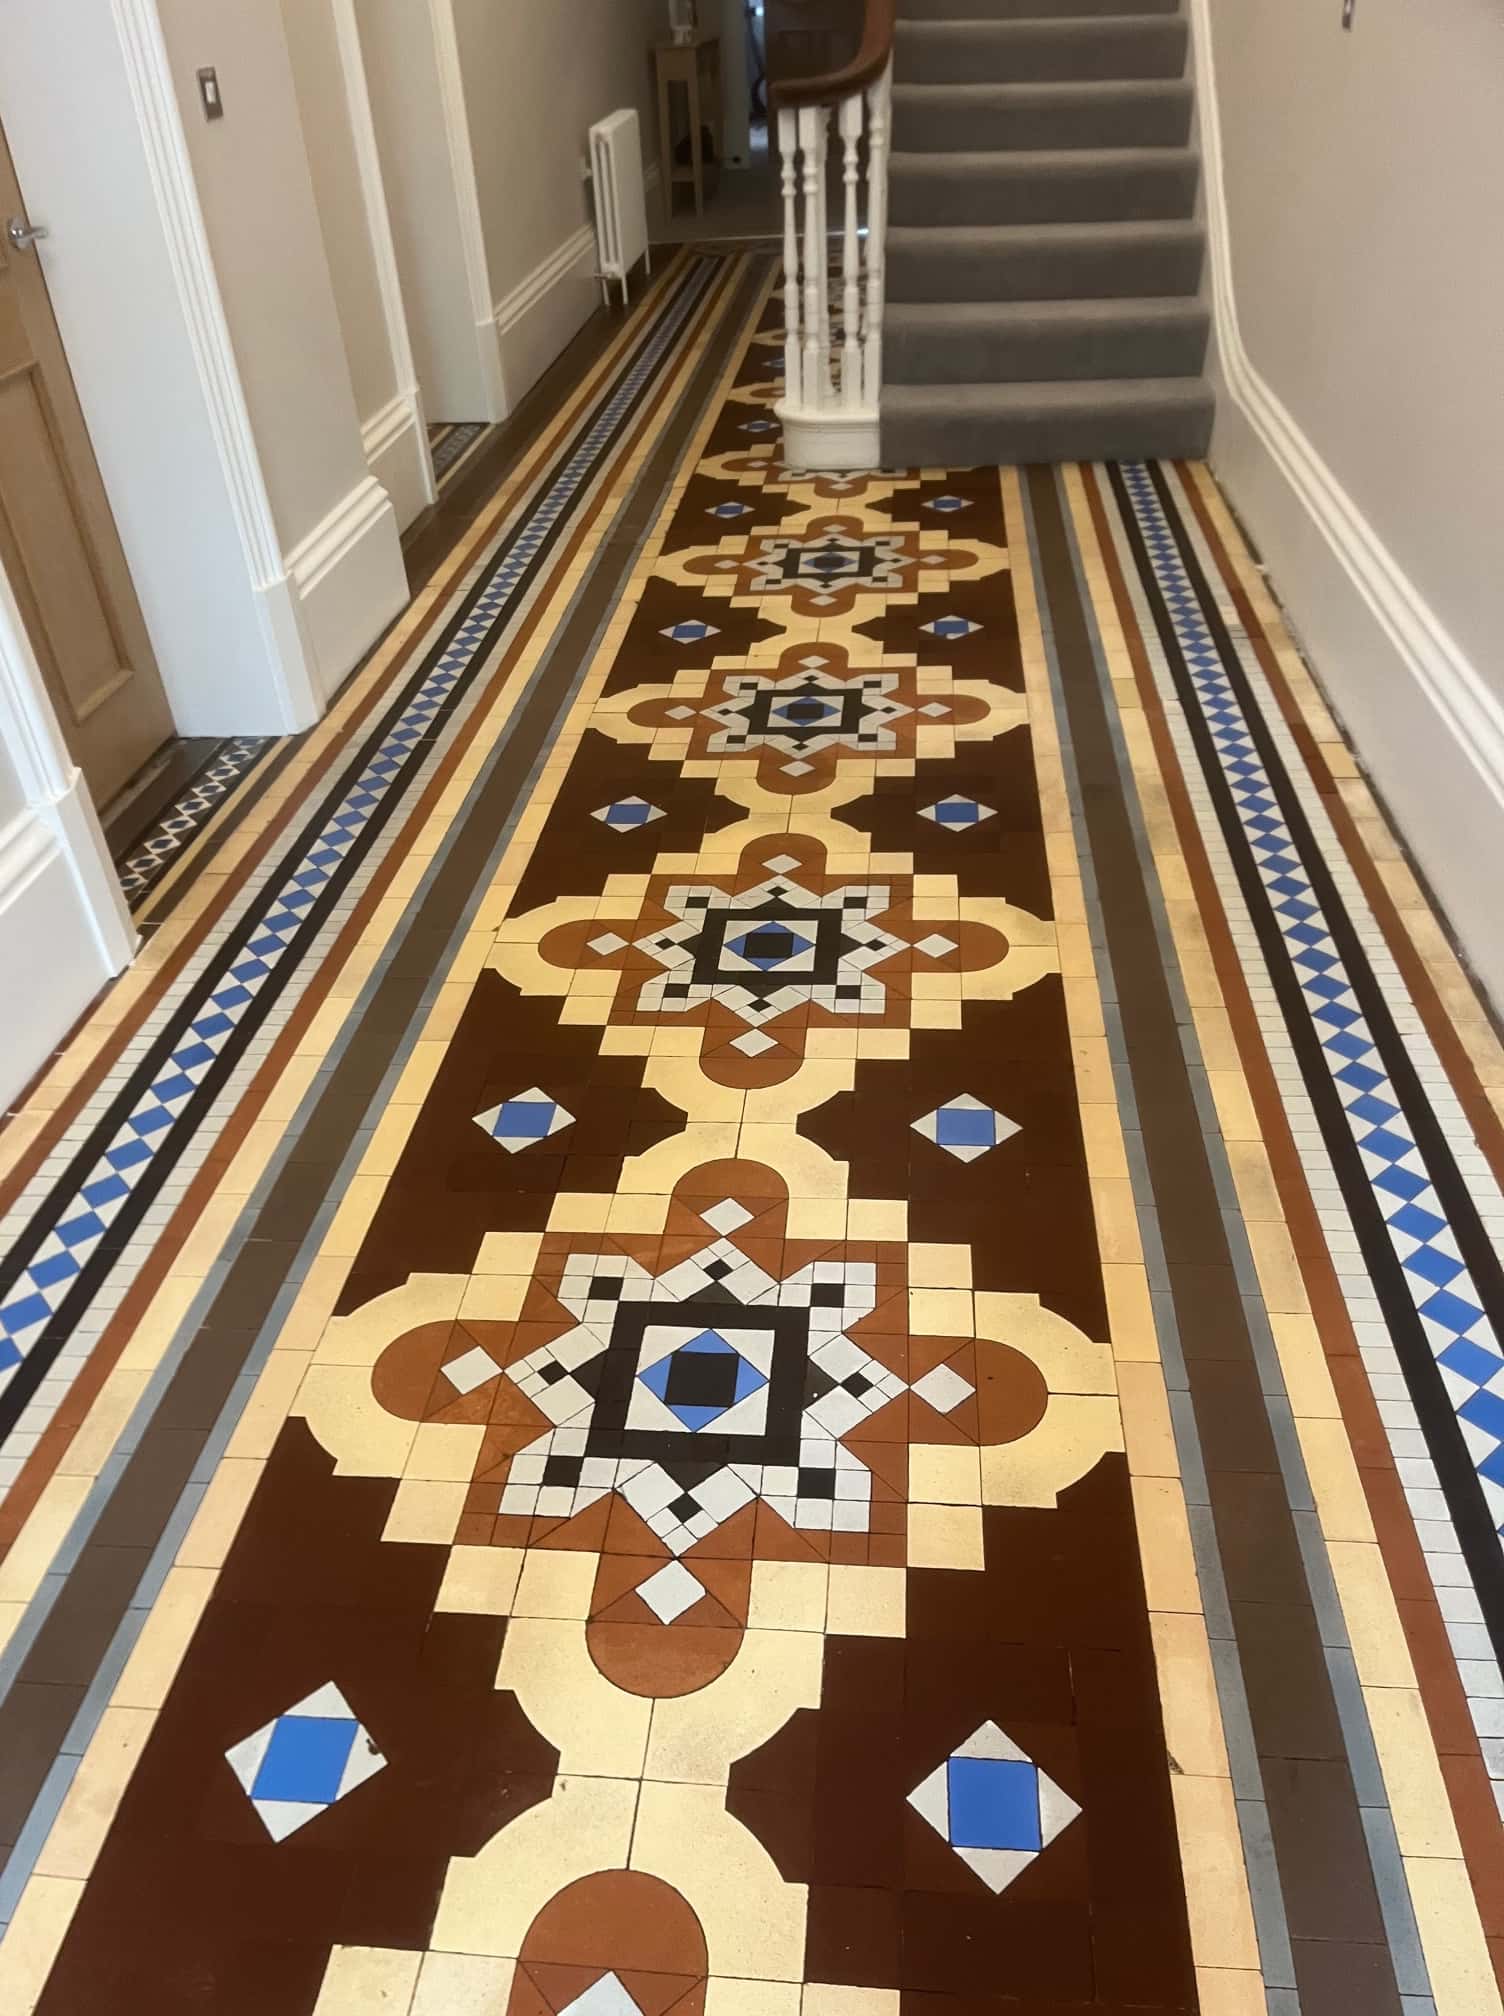
Original Victorian Hallway Floor Restored Back to Life in Carlisle

This is probably one of the oldest Victorian floors we have worked on, the house dates back to 1853 and is the second one we have covered on the same road in the leafy city of Carlisle . The whole street was owned by the council for several decades and the houses including floors have experienced all sorts of damage to them over the years. More recently the houses have been released to a private developer who called us in to handle the restoration and resurrect the hallway tiles which you will see on the pictures.

Period 1853 Victorian Hallway Floor Before Restoration Carlisle Period 1853 Victorian Hallway Floor Before Restoration Carlisle

Cleaning and Repairing a Victorian Tiled Hallway Floor

The first job for us was the tile repair, and this meant preparing the surface for the new tiles, which involved carefully knocking up all the loose and cracked tiles and then re setting them using matching replacements where necessary.

Period 1853 Victorian Hallway Floor During Restoration Carlisle

To do this I like to use a multi tool to score the grout and then break out the cracked tiles with a hammer and chisel or a power drill. The replacement tiles had to be re-sized to fit, oddly enough most of the damage was along the edge of the floor where air ducts used to be in place and then these had been concreted in. The main part of the floor though was still in good order even though it was 170 years old.

Period 1853 Victorian Hallway Floor During Restoration Carlisle Period 1853 Victorian Hallway Floor During Restoration Carlisle

Once the replacement tiles were set, a low moisture cleaning technique was used to get the whole floor clean. This involves covering the tiles in Tile Doctor Oxy-Gel and leaving it to soak into the tile for ten minutes. Being a gel cleaner, it is easier to control and there is less water involved. The gel is then scrubbed in with a buffing machine fitted with a 100-grit milling pad. A little bit of water is added to help lubricate and scrub off the dirt and soiling. A wet vacuum is then used to remove the soil which is an essential piece of kit for this line of work.

After the initial clean the floor was given an acid rinse using Tile Doctor Acid Gel which was applied neat and as before scrubbed in using a pad, this time using a finer 200-grit milling pad. Again, a little water was used to aid in the clean up being careful not to flood the floor.

The reason for the low moisture clean is that there was a basement underneath the hallway and the client had nowhere else to put certain fabrics, furniture etc so with a low moisture clean we can minimise the chance of any water finding its way into the space below. The wet vacuum was deployed again to remove the cleaning products and water and the floor was left to dry.

Sealing a Victorian Tiled Hallway Floor

Once clean and dry the floor was sealed using two coats of Tile Doctor X-Tra seal which as the name suggests is a little bit extra as it’s a very robust sealer, although mainly designed for outside areas it’s an oil-based formula that works really on Victorian tiles.

Period 1853 Victorian Hallway Floor After Renovation Carlisle Period 1853 Victorian Hallway Floor After Renovation Carlisle

One done the floor looked great, and the developer was very happy with the result.

Period 1853 Victorian Hallway Floor During Restoration Carlisle


Professional Restoration of a Victorian Tiled Hallway in North Cumbria

Original Victorian Hallway Floor Restored Back to Life in Carlisle Read More »

Semi Riven Green Slate Renovation Keswick

Semi Riven Green Slate Floor in Keswick

The owner of this property in Keswick requested a visit to take a look at their Green Slate kitchen floor. The Slate tile was the Semi Riven variety which works well in a Kitchen due to the rough surface being anti-slip however that rough surface can also trap dirt.

Some areas needed a deep clean and other areas were still in good order but because the client was not sure of which sealer, they had used in the past it would be necessary to treat all three floors with the same process and strip off the original sealer first. All were interconnected and if we only covered one room and not the next there would be a difference in the finish between the floor areas.

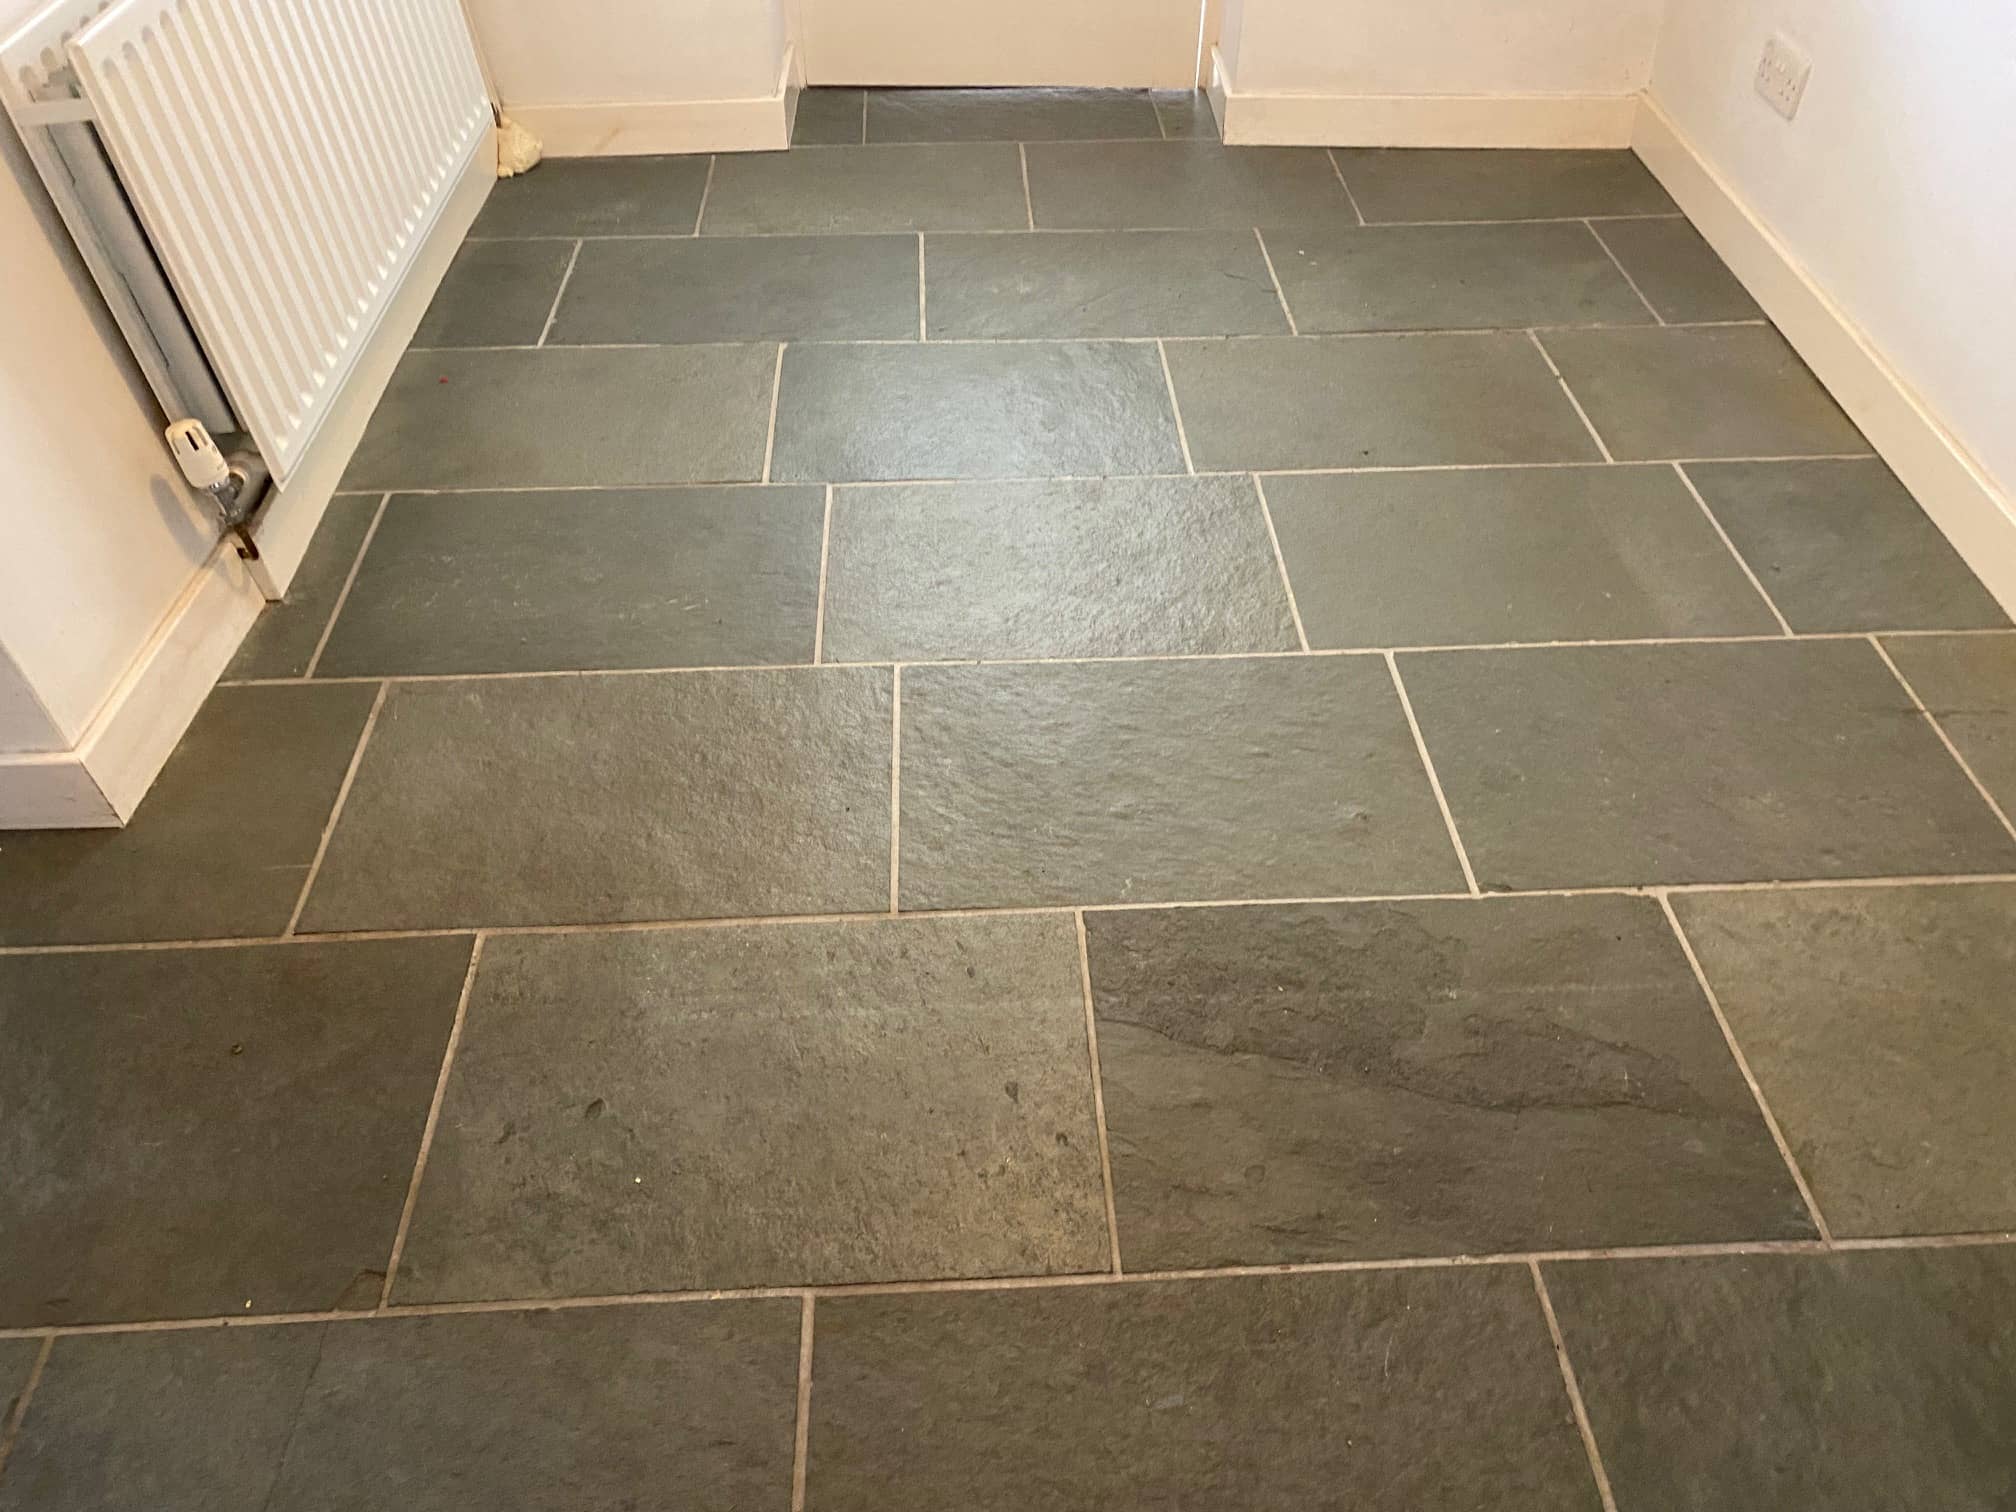
Semi Riven Green Slate Before Cleaning Keswick

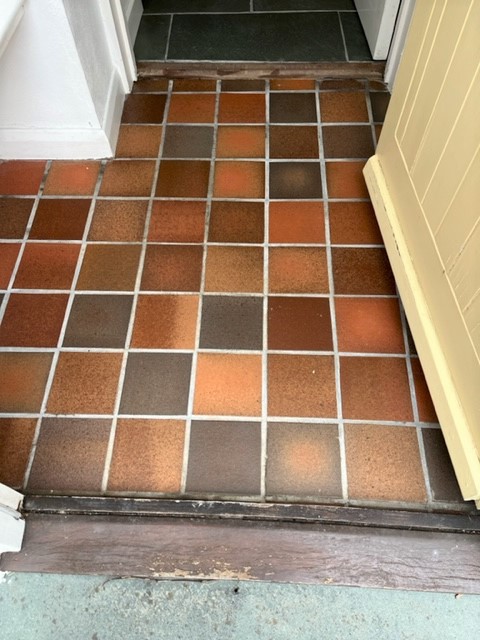
Although the Green Slate floor was the main issue, I noticed that they had a small Quarry tiled hallway at the front of the property which looked tired, so I offered to renovate that as well. The process for cleaning and sealing Quarry tiles is virtually the same as Slate so it made sense.

Quarry Tiled Hall Floor Before Cleaning Keswick

Cleaning a Semi Riven Green Slate Tiled Kitchen Diner Floor

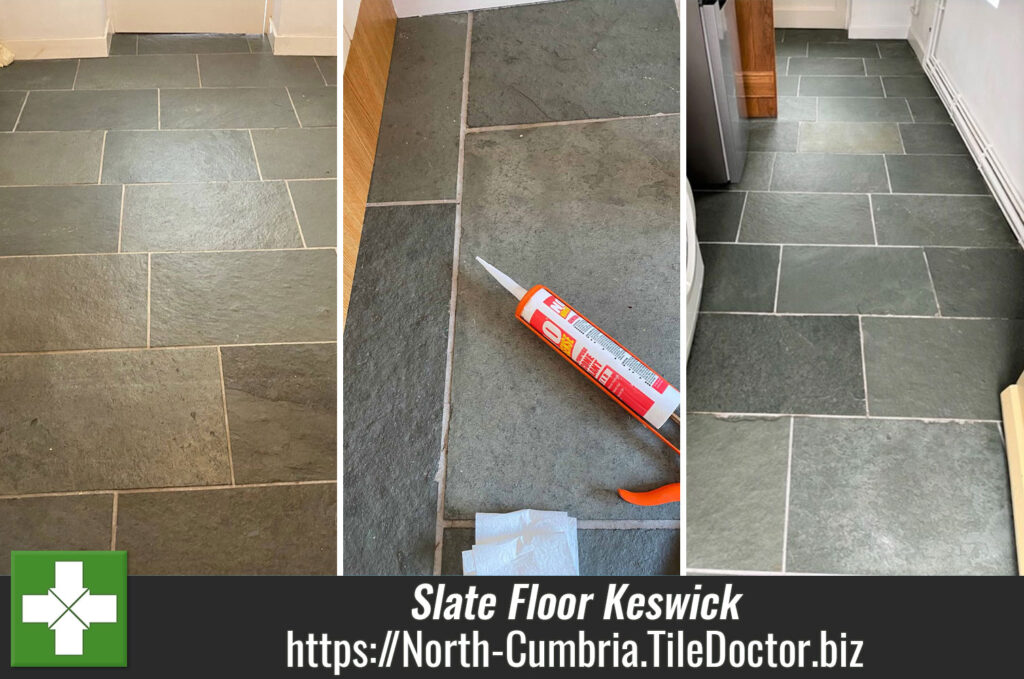
Before we do any work at all you will notice on one of the pictures that we apply a thin coat of clear silicone to the bottom of the units where it meets the slate, this stops water getting underneath and causing a capillary action forming and blowing the wood, or in this case MDF which is very absorbent more so than standard wood and will blow within 10 to 15 minutes of water being left to stand underneath it. Using the silicone stops this problem completely (assuming no gaps have been left for water to seep into).

Semi Riven Green Slate Before Cleaning Keswick

Working in three separate zones I started by removing the original sealer with the application of a medium dilution of Tile Doctor Remove and Go. This product is a sealer and coatings remover. My method was to let the solution soak into the tiles for about ten minutes and then work it in using a coarse 200-grit milling pad fitted to a rotary buffer. These pads really get into the rough surface of the slate stripping off the old sealer and getting the tile clean at the same time. The slurry generated was rinsed away with water and then extracted with a wet vacuum.

Next the Slate was treated to an acid rinse using Tile Doctor Grout Clean-Up. This process removes mineral deposits including old grout smears and really shows the tile at its best. The acidic nature of the product will also serve to neutralise the alkalinity in the tile caused by the application of Remove and Go earlier. Additionally Remove and Go is designed to strip off sealers, so I didn’t want any trace of it hanging around in the pores of the stone.

After a thorough rinse and extraction, the floor was left to dry off overnight.

Sealing a Semi Riven Green Slate Tiled Kitchen Diner Floor

I came back the next day to apply a fresh sealer to the floor checking first it was dry by taking a few moisture readings with a damp meter. Slate and Quarry tiles are porous, as it’s the top layer of Grout and without a sealer in place dirt can become lodged in the pores making it very difficult to lean.

The moisture readings confirmed the floor was dry enough to be sealed however my client was still unsure of the finish they wanted so before starting different sealers were applied on different parts of the floor so they could get an idea of how it would look.

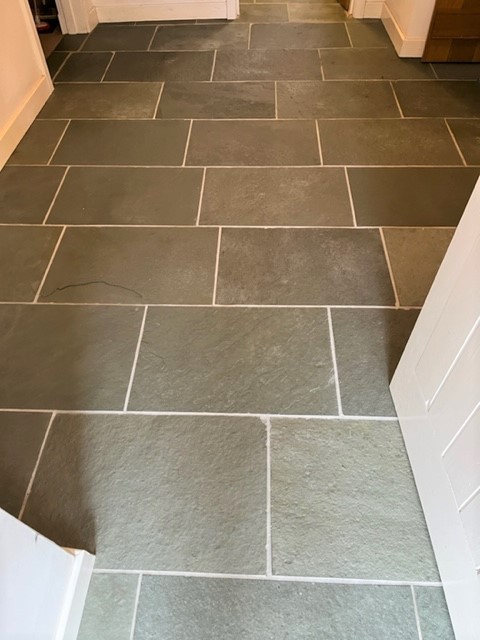
Semi Riven Green Slate After Cleaning Keswick Semi Riven Green Slate After Cleaning Keswick

After reviewing the results Tile Doctor Colour Grow was chosen, it’s a matt effect sealer which lifts the overall finish of the stone by enhancing its natural colours, it also worked well on the Quarry tiles and will provide many years of protection.

Quarry Tiled Hall Floor After Cleaning Keswick

The client was very happy with the finished floor and especially how improved the grout looked which was an additional bonus. Before leaving I took time to explain how to maintain the floors going forward for which I always recommend a mild tile cleaner such as Tile Doctor Neutral Tile Cleaner. Many of the products you find in supermarkets are simply too strong for cleaning a sealed floor and will strip the sealer off prematurely.


Professional Restoration of a Semi Riven Green Slate Tiled Kitchen diner in North Cumbria

Semi Riven Green Slate Floor in Keswick Read More »

Scroll to Top