Keswick

Semi Riven Green Slate Renovation Keswick

Semi Riven Green Slate Floor in Keswick

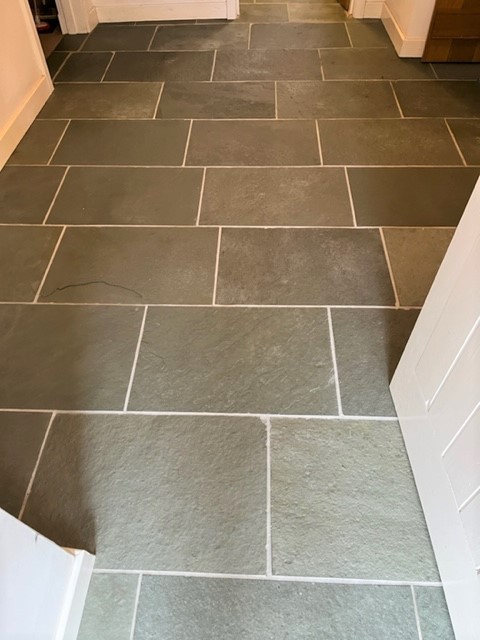
The owner of this property in Keswick requested a visit to take a look at their Green Slate kitchen floor. The Slate tile was the Semi Riven variety which works well in a Kitchen due to the rough surface being anti-slip however that rough surface can also trap dirt.

Some areas needed a deep clean and other areas were still in good order but because the client was not sure of which sealer, they had used in the past it would be necessary to treat all three floors with the same process and strip off the original sealer first. All were interconnected and if we only covered one room and not the next there would be a difference in the finish between the floor areas.
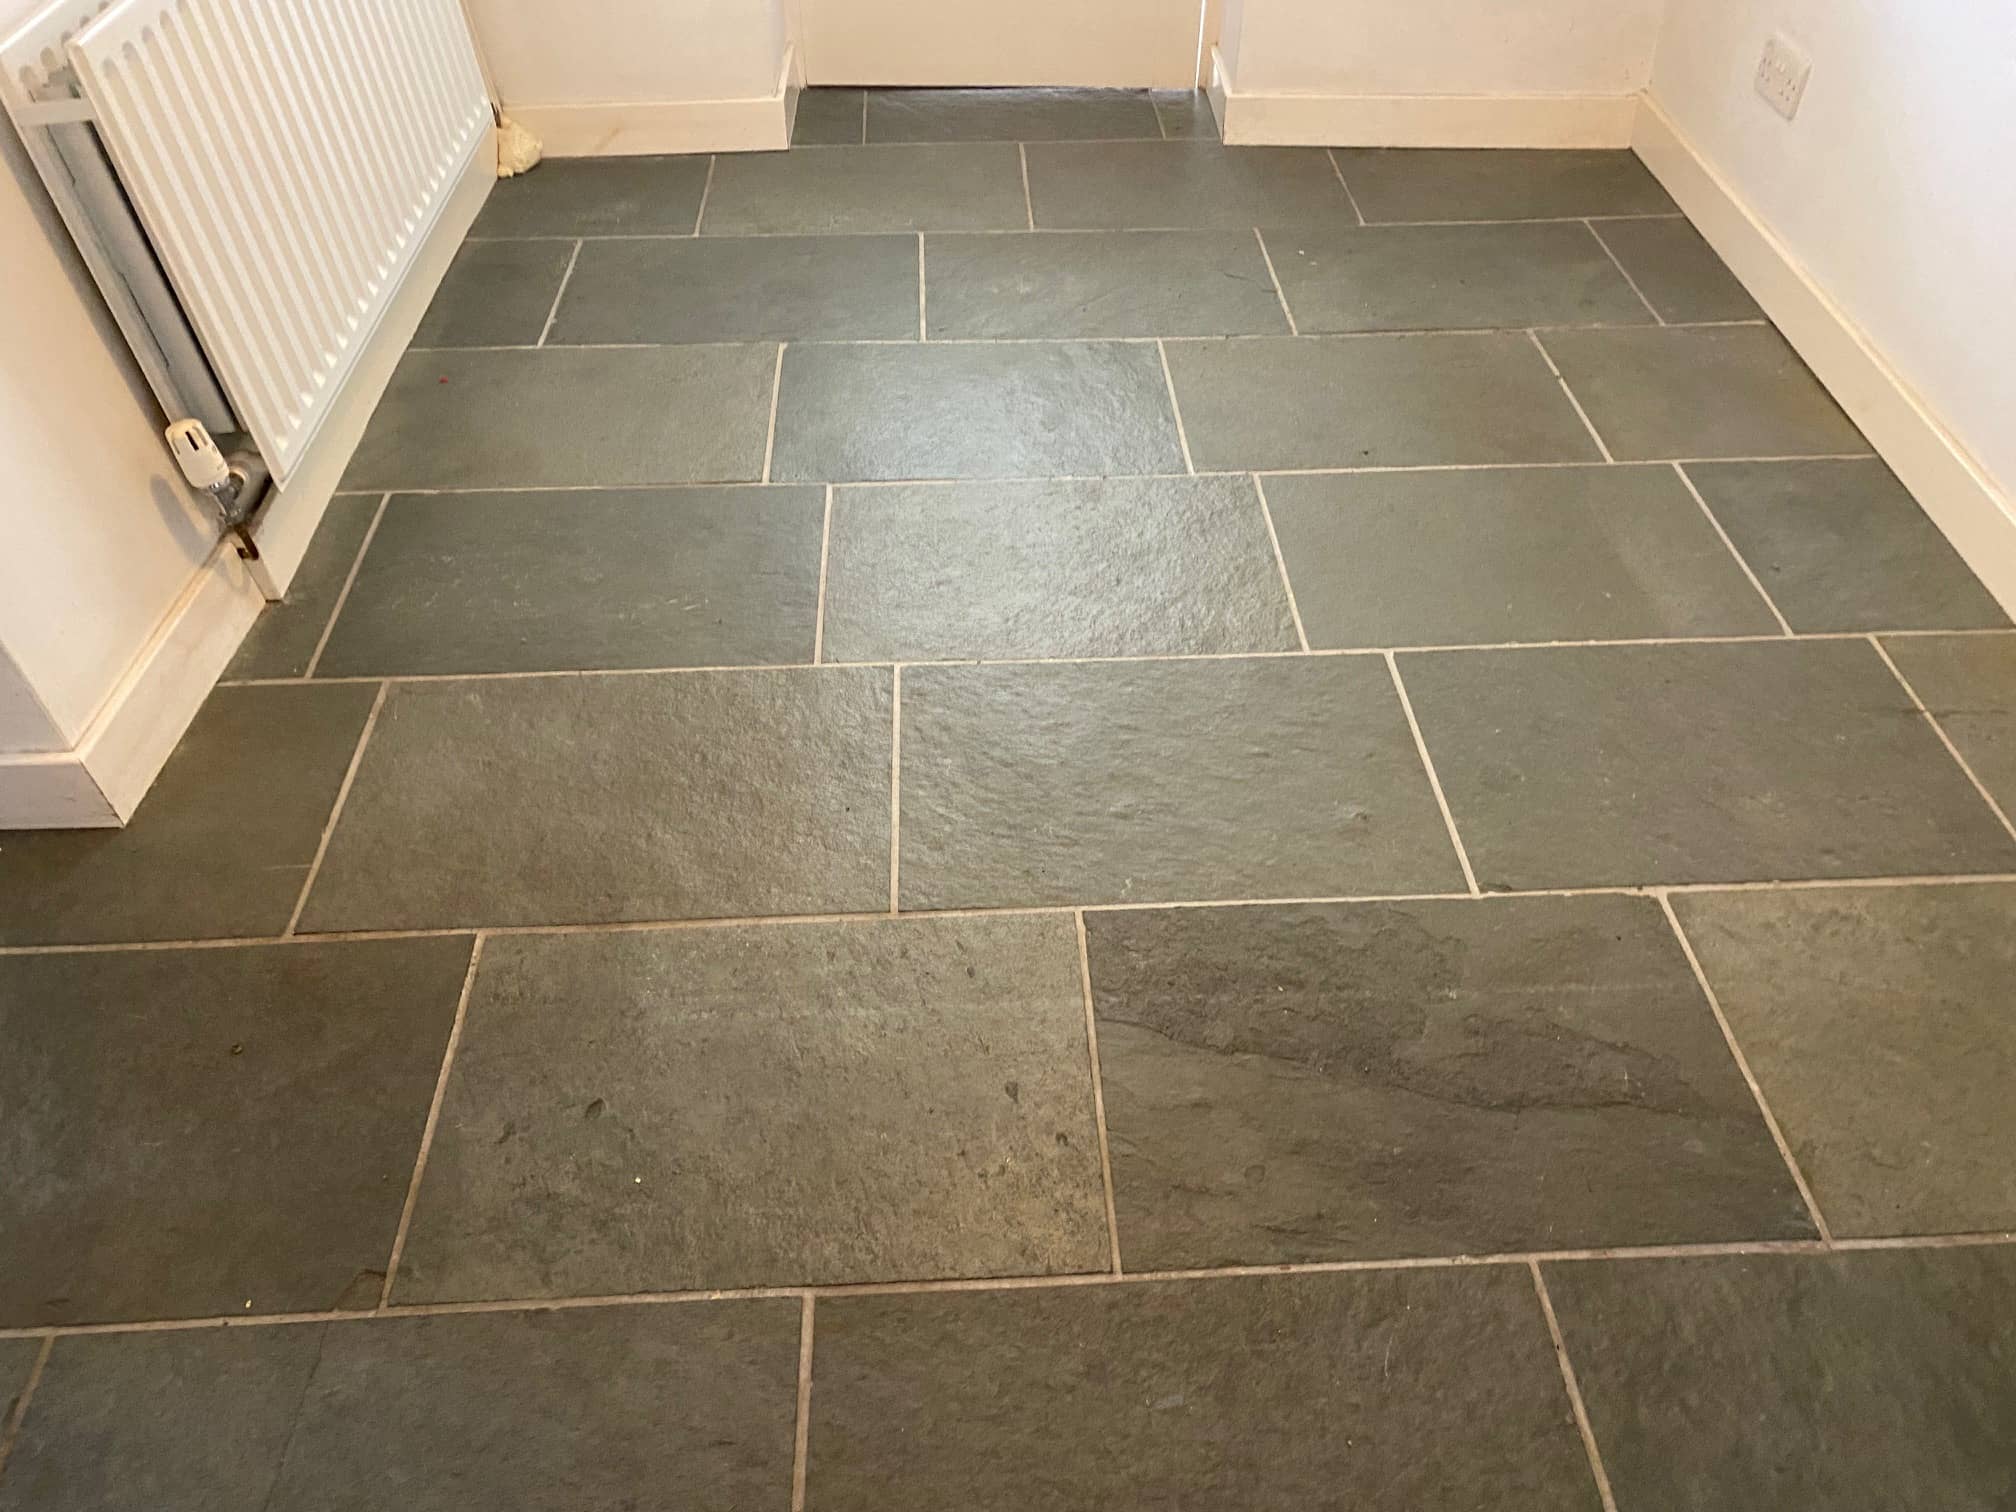
Semi Riven Green Slate Before Cleaning Keswick

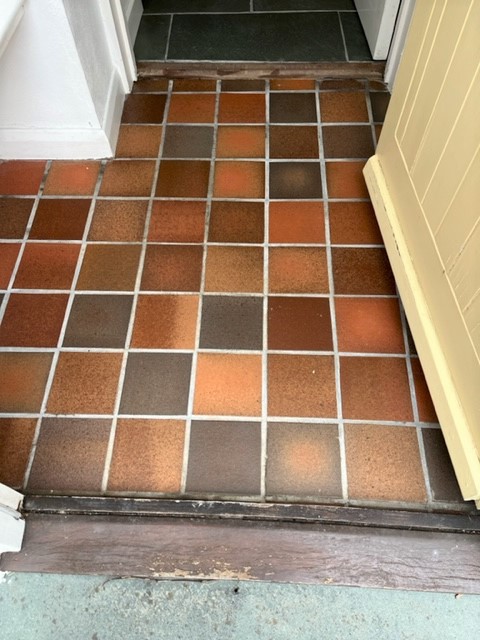
Although the Green Slate floor was the main issue, I noticed that they had a small Quarry tiled hallway at the front of the property which looked tired, so I offered to renovate that as well. The process for cleaning and sealing Quarry tiles is virtually the same as Slate so it made sense.

Quarry Tiled Hall Floor Before Cleaning Keswick

Cleaning a Semi Riven Green Slate Tiled Kitchen Diner Floor

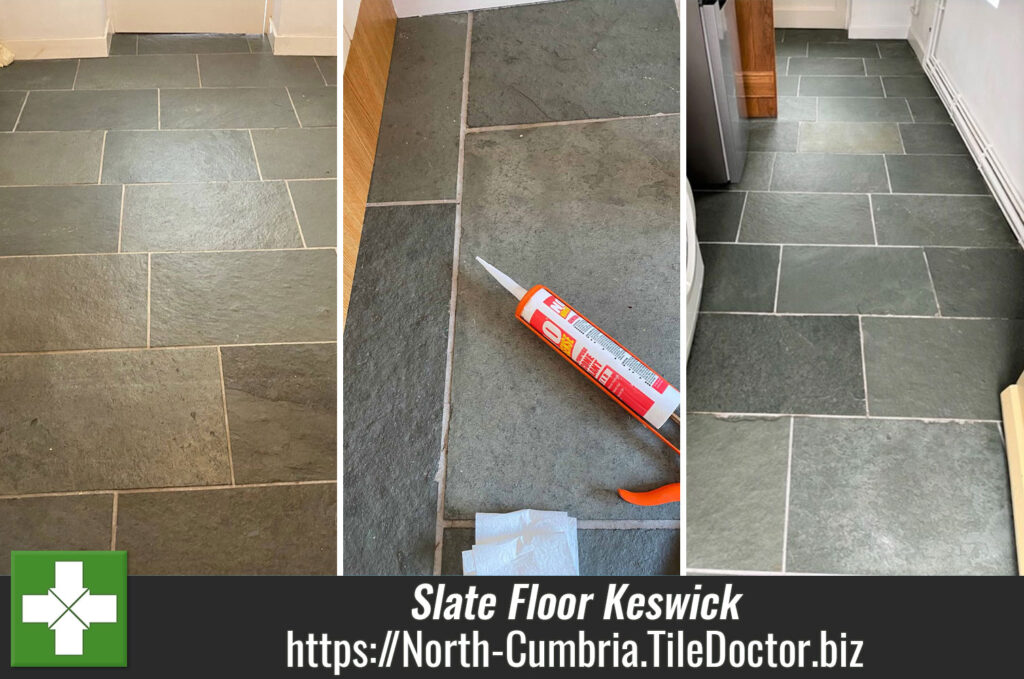
Before we do any work at all you will notice on one of the pictures that we apply a thin coat of clear silicone to the bottom of the units where it meets the slate, this stops water getting underneath and causing a capillary action forming and blowing the wood, or in this case MDF which is very absorbent more so than standard wood and will blow within 10 to 15 minutes of water being left to stand underneath it. Using the silicone stops this problem completely (assuming no gaps have been left for water to seep into).

Semi Riven Green Slate Before Cleaning Keswick

Working in three separate zones I started by removing the original sealer with the application of a medium dilution of Tile Doctor Remove and Go. This product is a sealer and coatings remover. My method was to let the solution soak into the tiles for about ten minutes and then work it in using a coarse 200-grit milling pad fitted to a rotary buffer. These pads really get into the rough surface of the slate stripping off the old sealer and getting the tile clean at the same time. The slurry generated was rinsed away with water and then extracted with a wet vacuum.

Next the Slate was treated to an acid rinse using Tile Doctor Grout Clean-Up. This process removes mineral deposits including old grout smears and really shows the tile at its best. The acidic nature of the product will also serve to neutralise the alkalinity in the tile caused by the application of Remove and Go earlier. Additionally Remove and Go is designed to strip off sealers, so I didn’t want any trace of it hanging around in the pores of the stone.

After a thorough rinse and extraction, the floor was left to dry off overnight.

Sealing a Semi Riven Green Slate Tiled Kitchen Diner Floor

I came back the next day to apply a fresh sealer to the floor checking first it was dry by taking a few moisture readings with a damp meter. Slate and Quarry tiles are porous, as it’s the top layer of Grout and without a sealer in place dirt can become lodged in the pores making it very difficult to lean.

The moisture readings confirmed the floor was dry enough to be sealed however my client was still unsure of the finish they wanted so before starting different sealers were applied on different parts of the floor so they could get an idea of how it would look.

Semi Riven Green Slate After Cleaning Keswick Semi Riven Green Slate After Cleaning Keswick

After reviewing the results Tile Doctor Colour Grow was chosen, it’s a matt effect sealer which lifts the overall finish of the stone by enhancing its natural colours, it also worked well on the Quarry tiles and will provide many years of protection.
Quarry Tiled Hall Floor After Cleaning Keswick

The client was very happy with the finished floor and especially how improved the grout looked which was an additional bonus. Before leaving I took time to explain how to maintain the floors going forward for which I always recommend a mild tile cleaner such as Tile Doctor Neutral Tile Cleaner. Many of the products you find in supermarkets are simply too strong for cleaning a sealed floor and will strip the sealer off prematurely.


Professional Restoration of a Semi Riven Green Slate Tiled Kitchen diner in North Cumbria

Semi Riven Green Slate Floor in Keswick Read More »

Textured Ceramic Kitchen Floor Tile Grout Colouring Keswick

Textured Ceramic Tile and Grout Clean and Colouring in a Keswick Kitchen

The owner of this property in Keswick had twenty-year-old Textured Ceramic Tiles installed in the Kitchen which have the advantage of increasing grip. However, the textured nature of the tile has the disadvantage of trapping dirt, making them difficult to keep clean.

Ceramic Tiled Kitchen Floor Before Grout Colouring Keswick

More importantly the Grout which was originally white had also trapped turned causing it to darken over the years and it had now turned black as you can see in the photos. Although waterproof the top layer of grout is cementitious and slightly porous and so it does attract dirt over time.

Ceramic Tiled Kitchen Floor Before Grout Colouring Keswick

The floor now needed a thorough clean to remove the trapped dirt from the textured tile and the grout. Whilst we can deep clean the grout using products like Tile Doctor Pro-Clean it won’t prevent the problem from happening again. We therefore recommended applying a grout colourant to the floor which adds a protective epoxy barrier over the grout in the colour of the client’s choice. This makes the grout look new and fresh and of course protects the grout going forward, its also much easier to keep clean.

Deep Cleaning Textured Ceramic Tile and Grout

To start we used Tile Doctor Grout Colourant Pre-Treat Cleaner which was scrubbed into the floor with a particular focus on the grout. This cleaned up the ceramic tiles and grout and being slightly acidic etches the surface of the grout to improve the bond with the colourant. I always recommend doing this as it does achieve a superior bond with the colourant helping it to last.

After the grout was pre-treated, cleaned, and dried using air blowers and a heat gun I started the lengthy process of applying the grout colourant. The kitchen was a good size and there were lots of grout lines that needed colouring, so it did take some time.

Ceramic Tiled Kitchen Floor During Grout Colouring Keswick

The colourant comes in ten different popular colours and on this occasion, I advised the client that Sandstone Grout colourant would work best. To prove my point, I demonstrated how it would look on a few of the grout lines so they could get a better idea of how it would look.

They agreed with my choice and I spent the rest of the day meticulously applying two coats of Sandstone Grout Colorant, which is tedious work but very rewarding. You can see the progress we made during the day on the pictures below, the only issue encountered was a free flying Quaker parrot which had a habit of dive bombing every time someone stood up!

Ceramic Tiled Kitchen Floor Grout Colouring Quaker Parrot Keswick

We finished the clean and left the client with a bottle of Tile Doctor Neutral Cleaner for future cleaning of the floor. It’s very important not to use bleaching agents on the grout colourant or it will fade, you will find bleaching agents in all types of household products.

Ceramic Tiled Kitchen Floor After Grout Colouring Keswick

My client was very happy with the completed work and left the following feedback:

“Russell and his mate (sorry I didn’t catch his name) arrived on time and made an excellent job of rejuvenating our kitchen floor in the day even though this required a late finish for them. They were no trouble to have in the house.”

It is always nice to get positive feedback from a customer, feedback is like icing on the cake.

Ceramic Tiled Kitchen Floor After Grout Colouring Keswick


Professional Restoration of a Ceramic Tiled Kitchen Floor in North Cumbria

Textured Ceramic Tile and Grout Clean and Colouring in a Keswick Kitchen Read More »

Red Sandstone Floor Before After Restoration Keswick Cumbria

Red Sandstone Floor Pavers Restored in Keswick, Cumbria

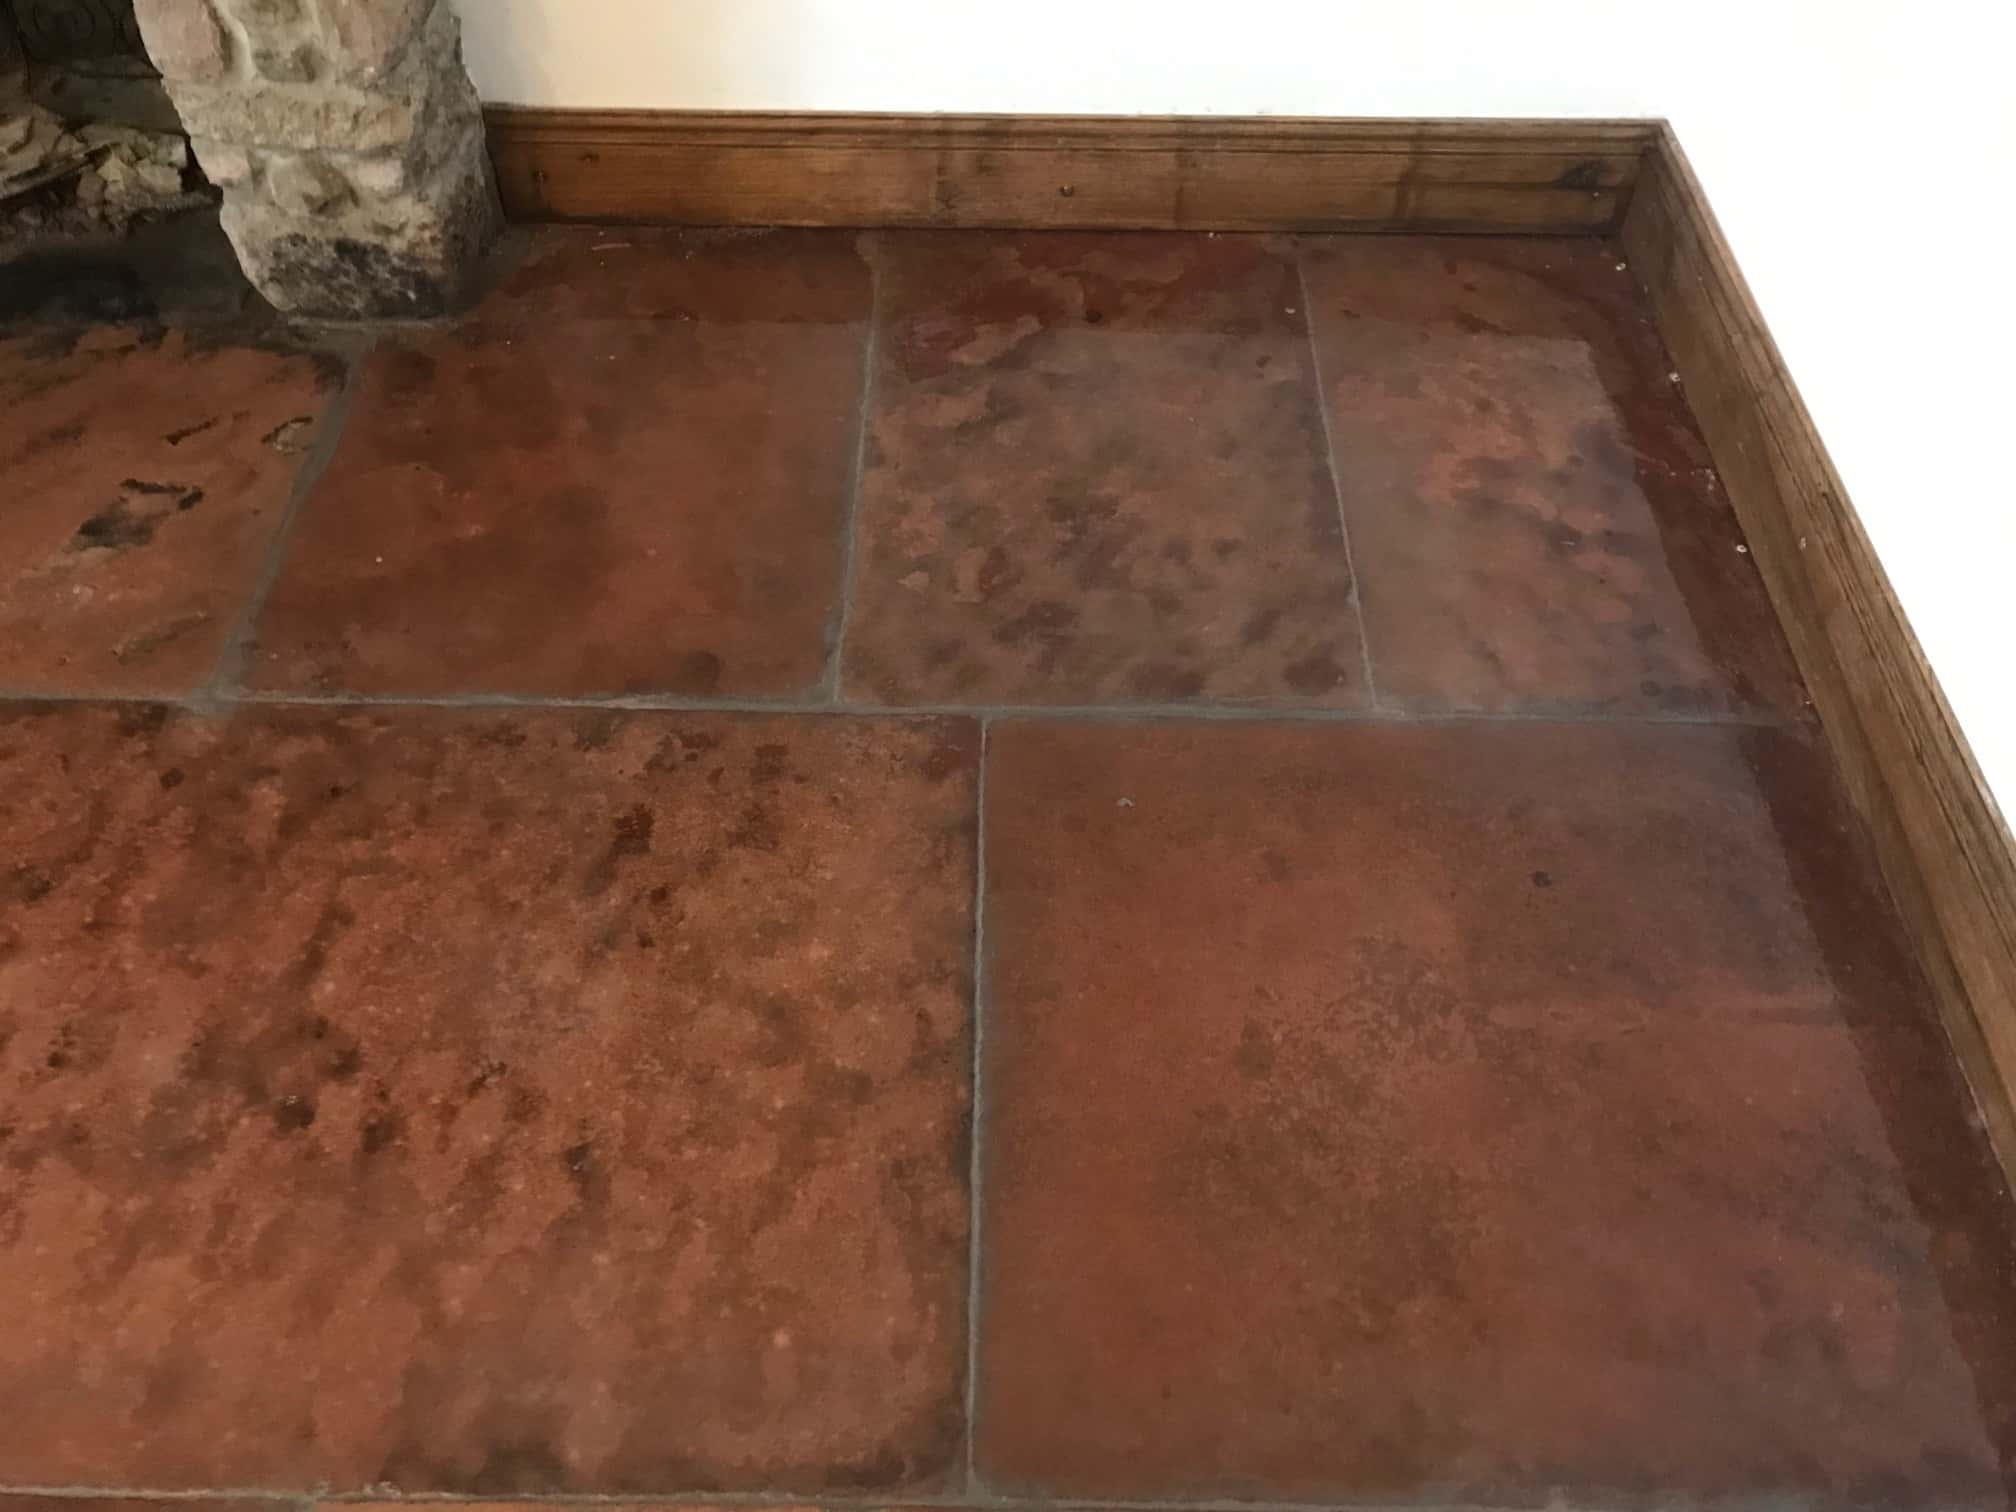
We love working with Sandstone, it’s very satisfying as we usually get called in when it looks really horrible and grubby and after some work it ends up looking stunning. The floor in this property in the famous Lake District town of Keswick had been covered with carpet for many years, so when we uncovered it as you can see from the pictures, it was clearly in needed of major attention and a great candidate for restoration.

Red Sandstone Flagstones Before Renovation Keswick

When the floors this bad there’s no point trying to get a decent clean just by using chemicals alone, so we often offer a system we have perfected at Tile Doctor called “Milling”. We discussed the project in detail with the client and agreed a price and a time to complete the work.

Red Sandstone Flagstones Fireplace Hearth Before Renovation Keswick Red Sandstone Flagstones Before Renovation Keswick

Restoring the Appearance of Red Sandstone

Milling involves the application of several coarse grades of hard diamond pads to the stone using water to lubricate the process, the water also helps make the removal of the soil easier and reduces dust. On this occasion we used coarse 50, 100 and 200-grit milling pads applied in sequence with a weighted rotary floor machine, the floor is rinsed with water between each pad and the soil extracted using a wet vacuum.

We worked our way across the floor using this process. Not only does this give the stone the deepest clean it has ever had but it also cuts back the stone a few millimetres and takes off a lot of roughness leaving the finish a lot smoother, this makes the now Milled Stone a lot easier to maintain in the future as it has a much smoother texture and finish.

Loose grout is a common problem on these older floors, so the next step was to rake out any broken and loose grout between the slabs, clean-up and repoint to match the existing. Once that had set, we gave the floor another lighter clean with Tile Doctor Pro-Clean run along the recessed grout lines with a rush to clean them up. I was then satisfied the floor was a clean and it could be, the floor now needed to dry our before we applied the sealer.

Sealing a Red Sandstone Tiled Floor

We returned the following day and checked the floor was dry using the moisture meter, we don’t recommend applying a sealer to a damp floor as the sealer will not cure properly. All was well, so we then applied several coats of Tile Doctor Colour Grow Sealer, this is a fully breathable, impregnating sealer that will protect the stone from staining whilst enhancing the natural red colour in the Sandstone.

Red Sandstone Flagstones Fireplace Hearth After Renovation Keswick Red Sandstone Flagstones After Renovation Keswick

Using a breathable sealer on old stone floors like this is highly recommend as these floors rarely have a damp proof membrane installed and so it’s important to give moisture a way of rising through the floor naturally and evaporating rather than being trapped under the floor where it can eventually build up in the walls.

As you can imagine from the after pictures the customer was happy with the overall outcome and relieved that their decision to remove the carpet had worked out.

Red Sandstone Flagstones After Renovation Keswick


Professional Restoration of a Red Sandstone Paved Floor in North Cumbria

Red Sandstone Floor Pavers Restored in Keswick, Cumbria Read More »

Scroll to Top